Adding an Application for Binary Analysis
To add a new application, click on the “Add Asset” button in the Assets tab and select "Application."
The Add Application page will ask first for the application name, language, and associated appliance name.
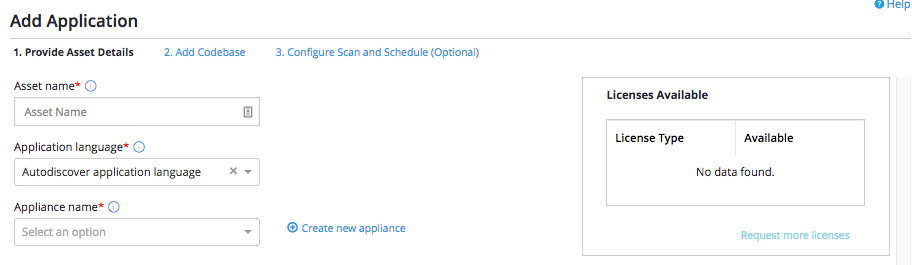
Note that the language you select determines what engine will be run when your code is scanned. For a binary file, please select "Discover."
Entering Codebase Information
Click on "Next" to enter Codebase information. You will be asked for the Codebase name, URI type (repository or archive), Source code management system (if using a repository), URI path, authentication type, and authentication information (username and password or certificate). Once you have entered this information, you can validate the connection to the codebase.
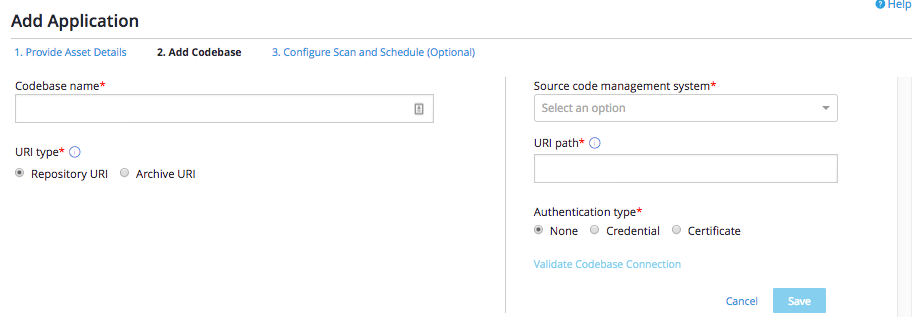
Please ensure that the binary files to be scanned, including all dependencies (e.g. libraries) are available at the selected URI.
You may rename the file on upload, but the file extension must be included in the name.
Once you have entered all information, click on Validate to validate the repository connection; click on "Save" to save the code base for this application.
To establish the scan configuration and scan schedule for your new application, click on Next.
Entering Scan Configuration and Schedule
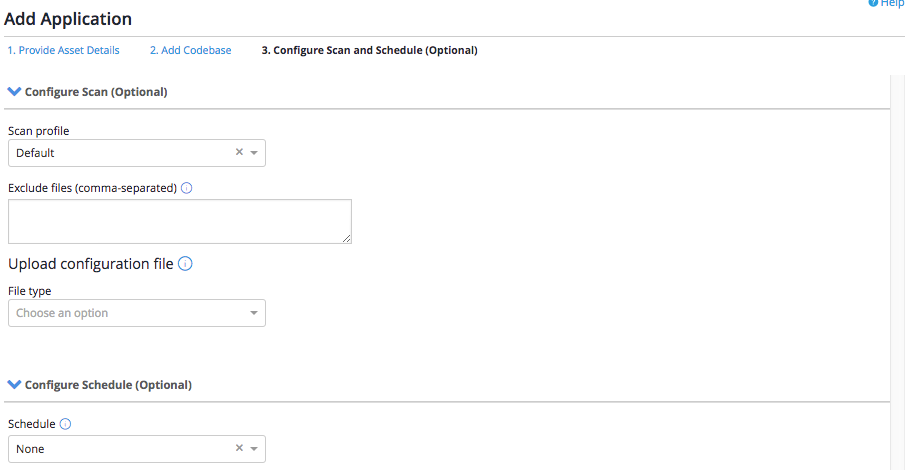
The final step is to configure your scan information and scan schedule.
Scan Profile
Under Scan Profile you can select the default profile (recommended in most cases), the Static Code Analysis only (SCA) profile, or the Web, Mobile, or Desktop Application profile.
Exclude Files
Under Exclude Files, you can provide a comma-separated list of files that should not be included in the scan.
Upload Configuration File
Under Upload Configuration File, you can choose a configuration file type (e.g. Maven, Gradle, NuGet, NPM, or Bower) and then upload an appropriate file.