Using Directed Remediation - Libraries
Sentinel Source uses custom libraries to support the patches suggested by the directed remediation function. To use those patches, you need to download the libraries that support them.
The source code for the libraries is provided in the Download Dependencies files in the Directed Remediation tab. Developers are encouraged to review the source code in order to understand how it functions and what capabilities it offers.
| When Directed Remediation is first enabled, the Terms and Conditions must be accepted at that time. These are available for review at https://www.whitehatsec.com/terms-and-conditions/directed-remediation/. |
Adding the Library to a Java Project
In Eclipse
To add the library to your Java project in Eclipse, perform the following steps:
-
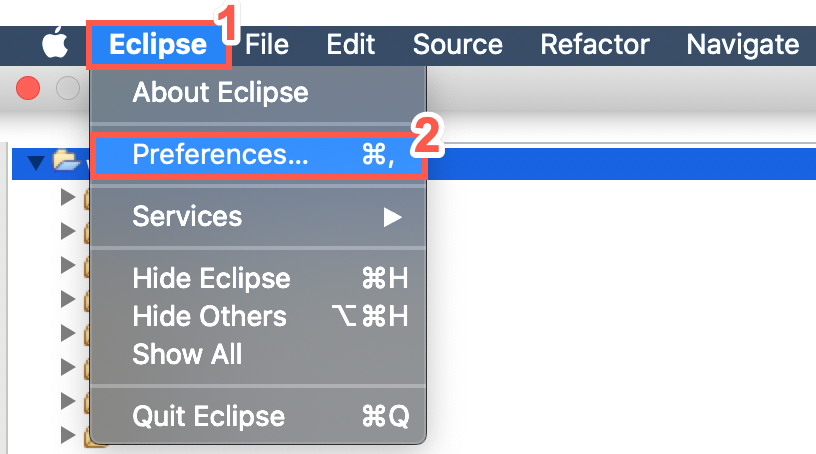
Click Eclipse.
-
Select Preferences from the drop-down menu.
-
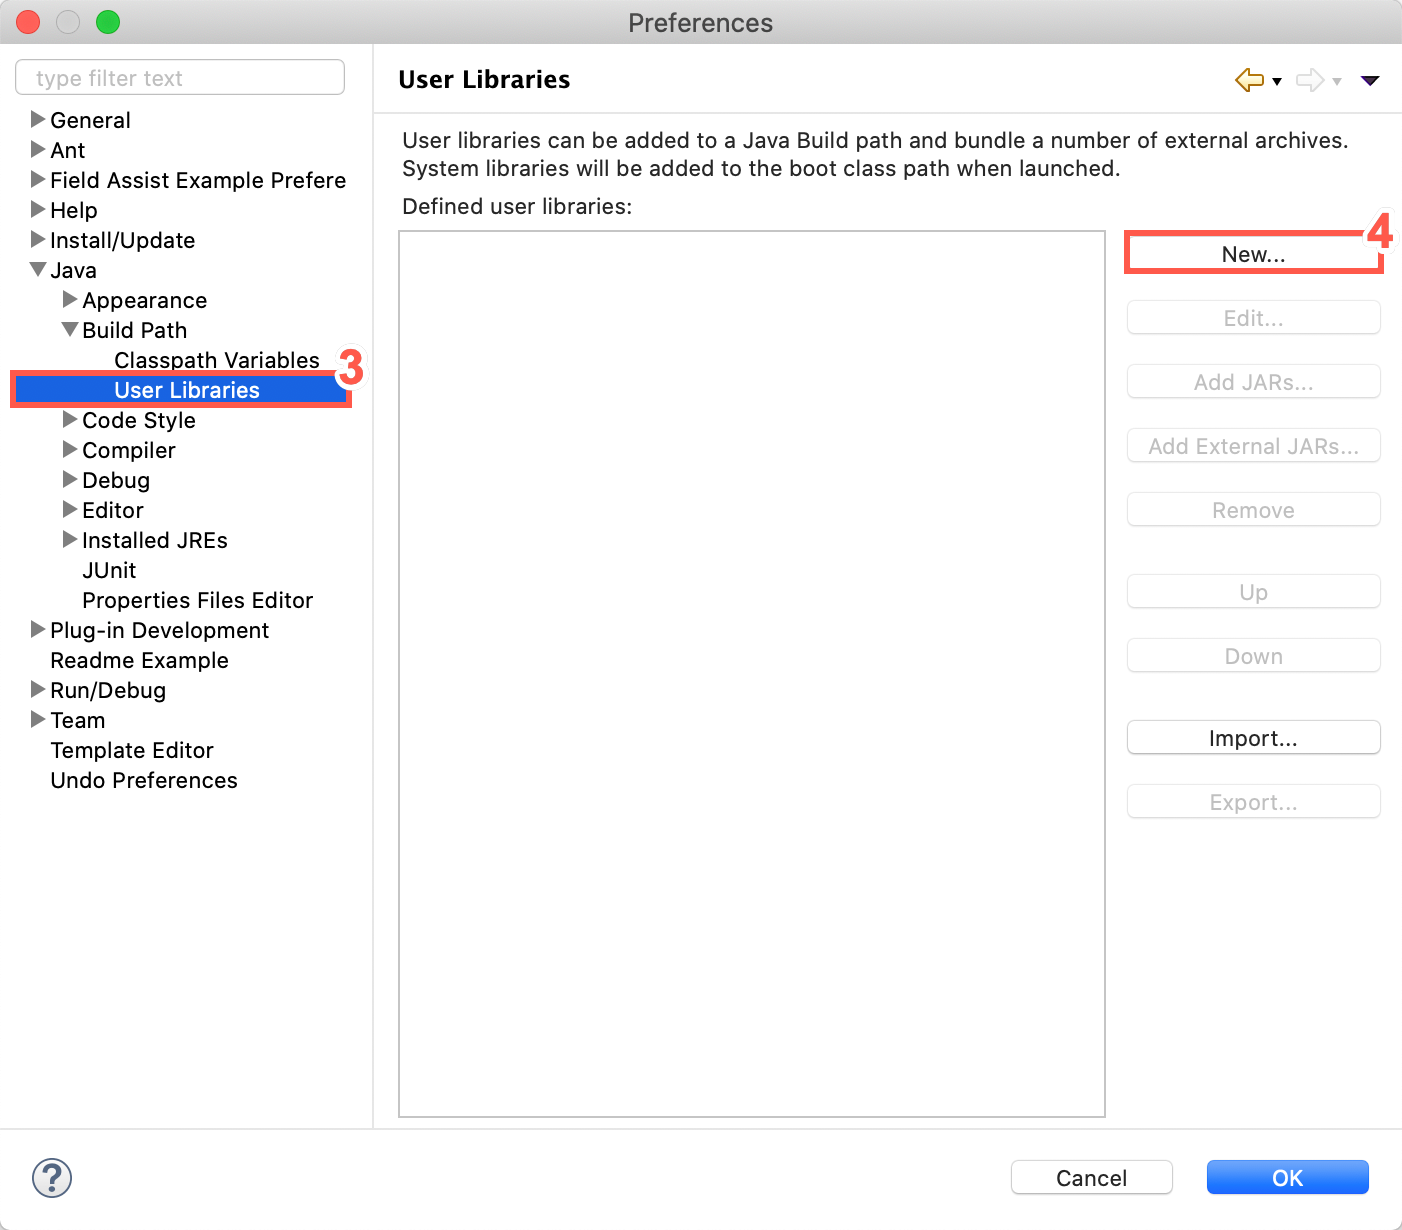
Select User Libraries from the menu displayed in the left panel.
-
Click New.
-
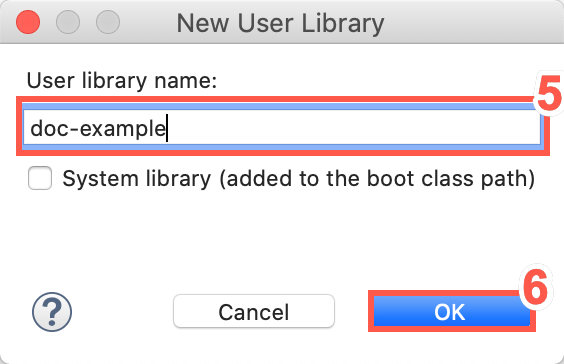
Type a User library name in the text field.
-
Click OK.
-
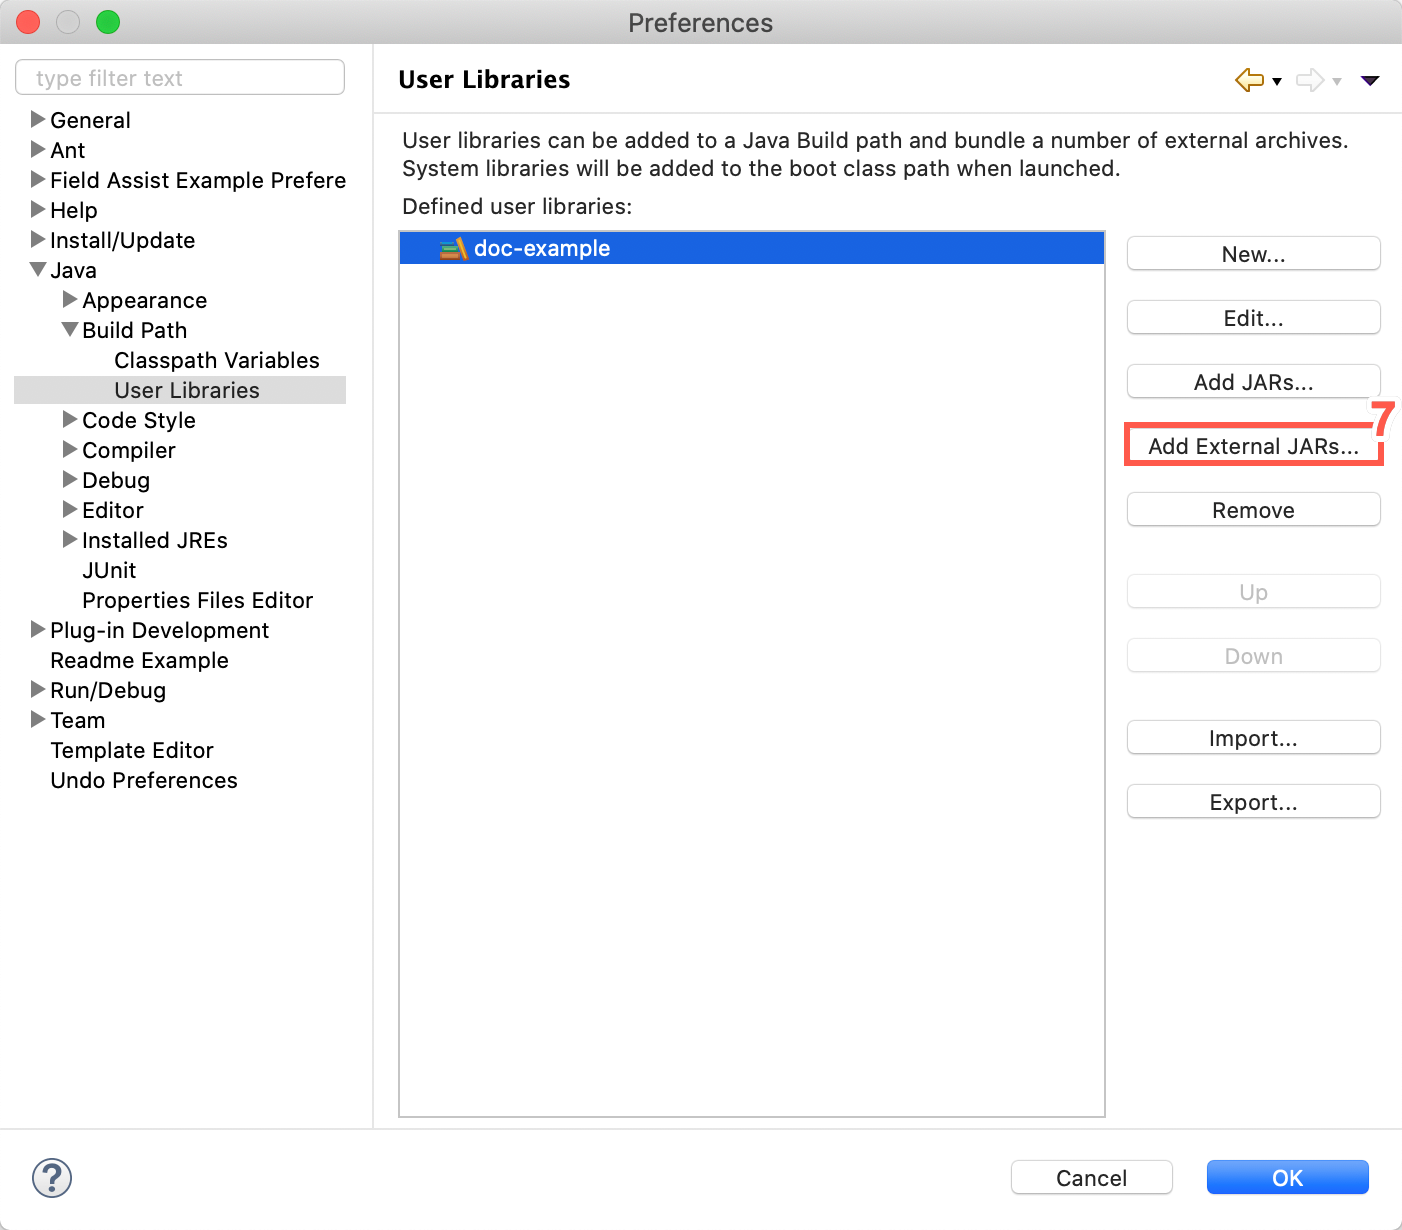
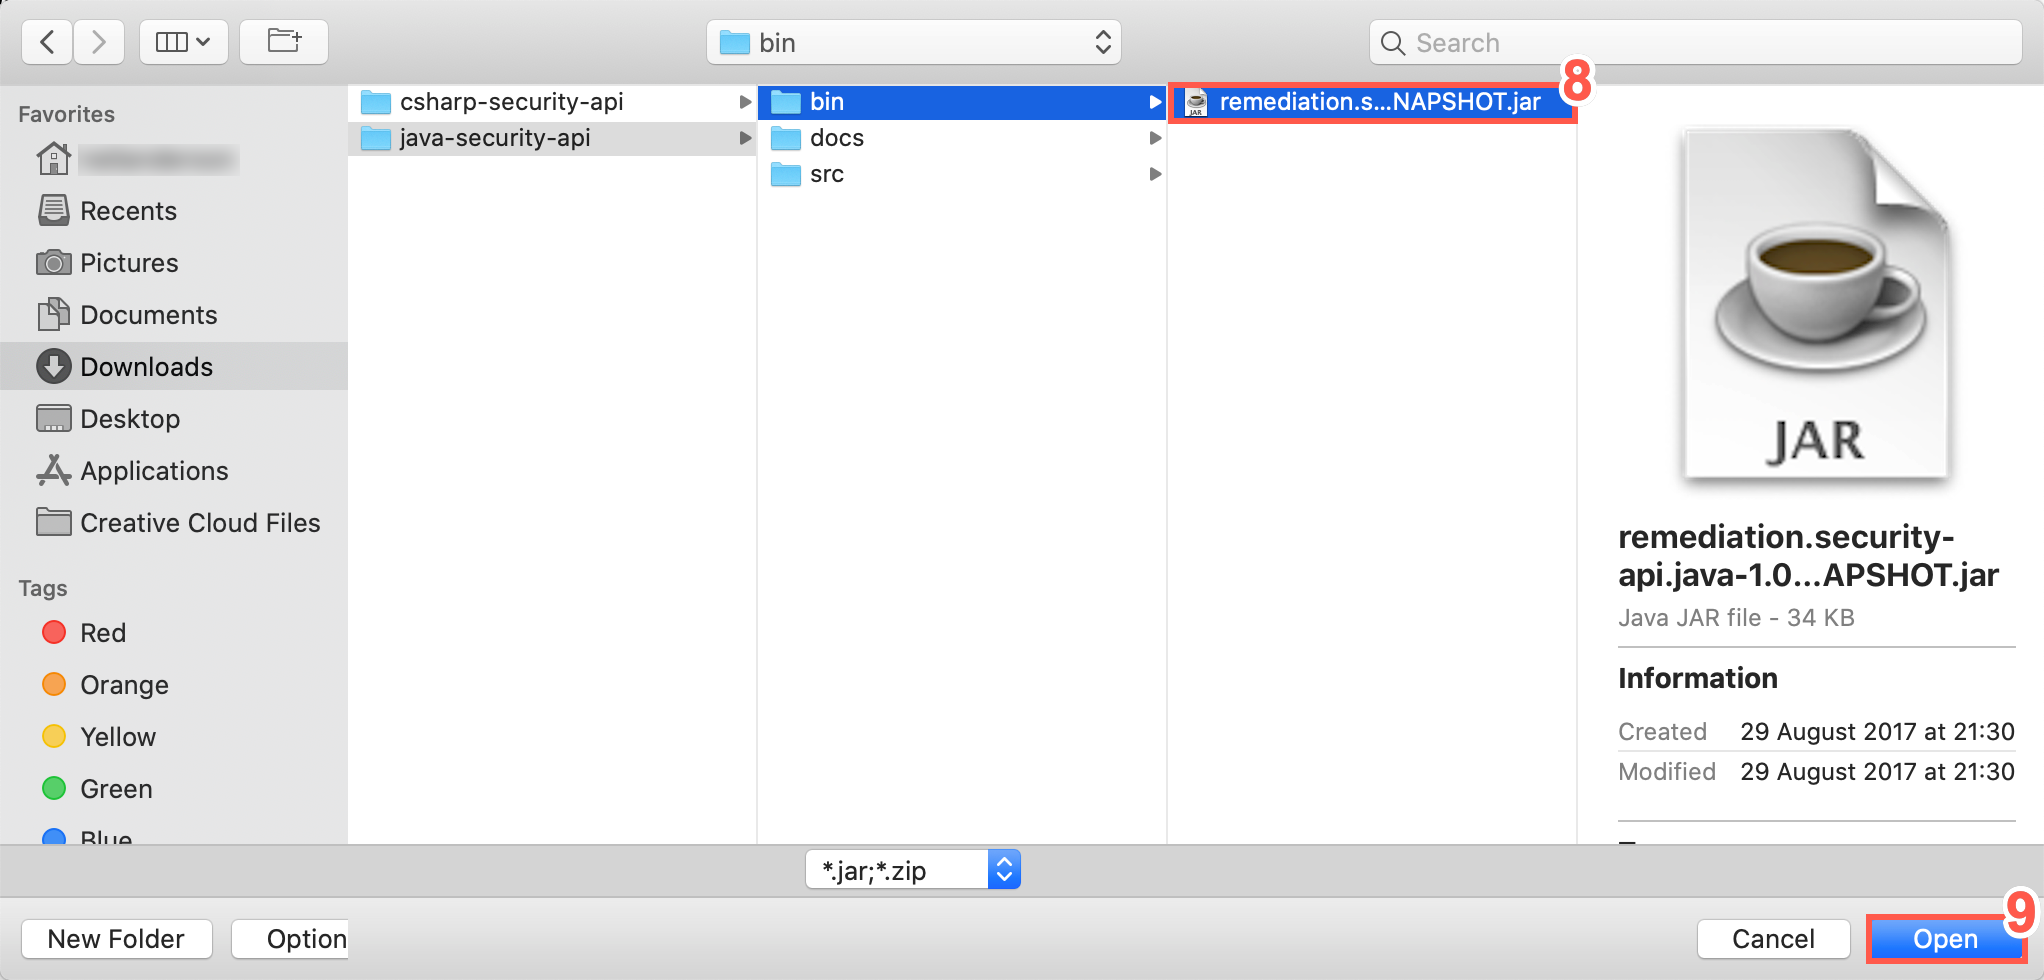
Click Add External JARs.
-
Select the downloaded .jar file from the Directed Remediation Library downloaded from Sentinel.
-
Click Open.
-
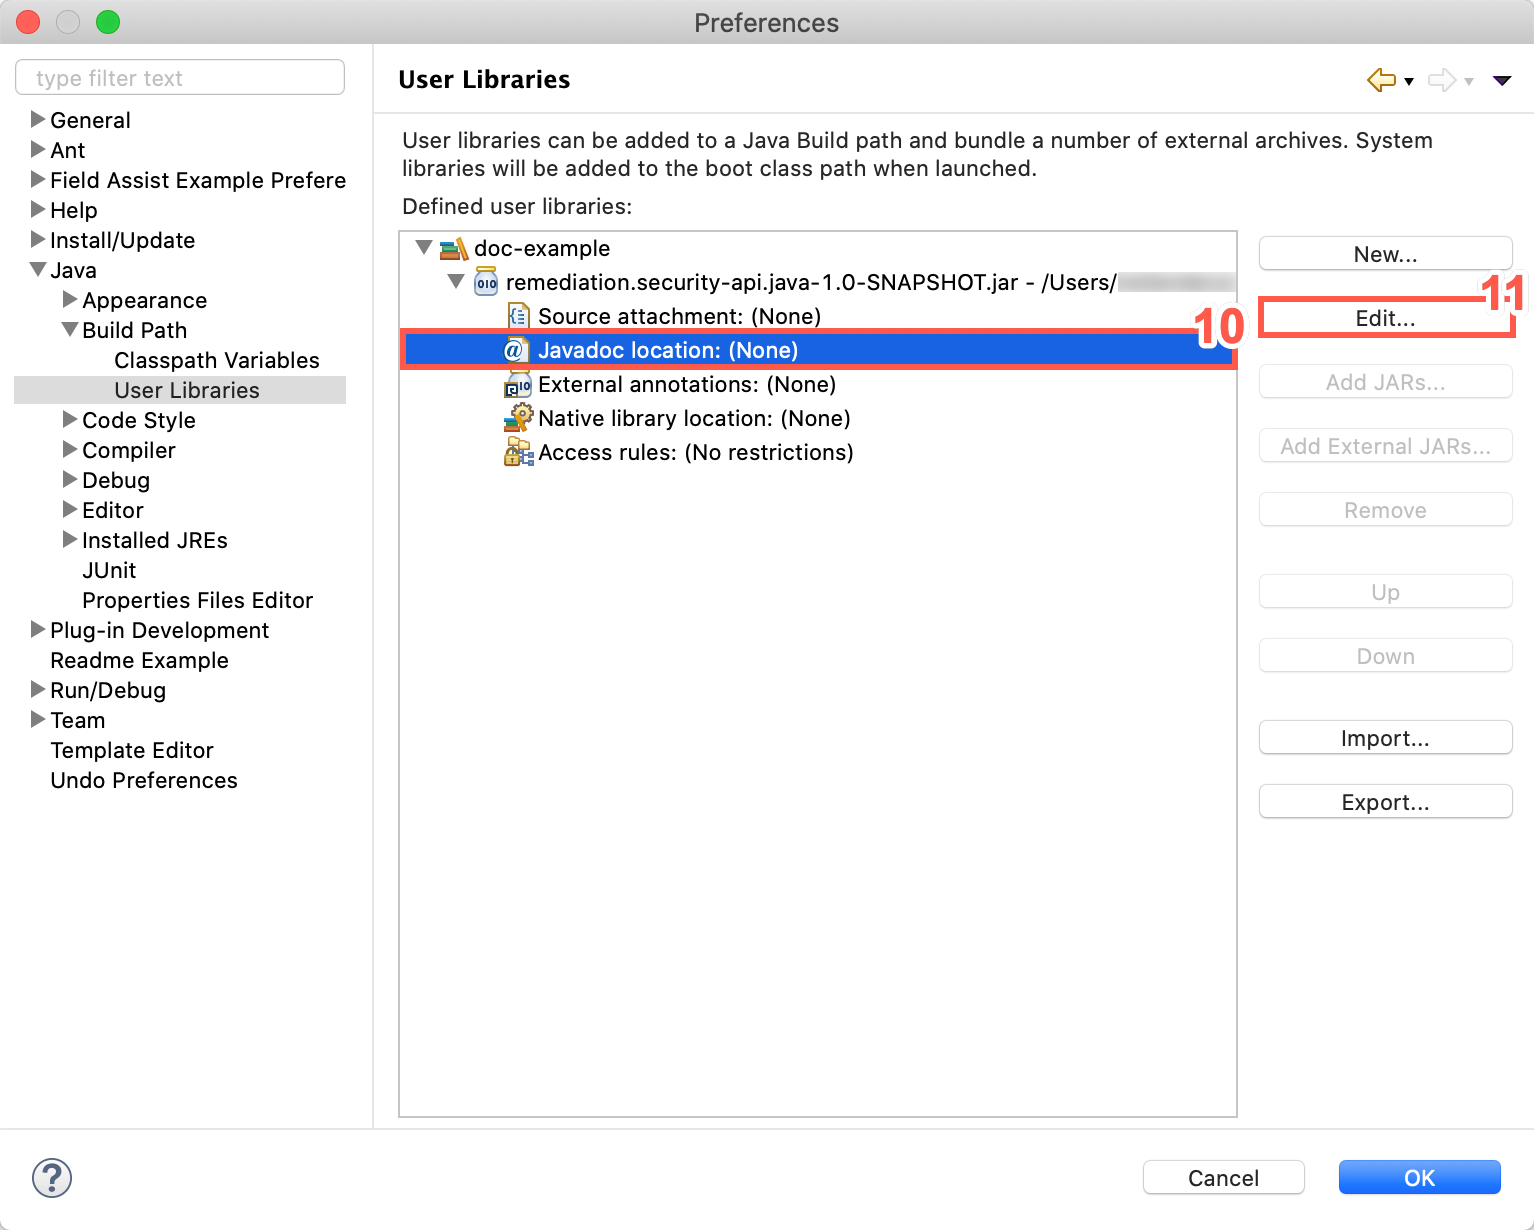
Select Javadoc location:.
-
Click Edit.
-
Click Browse.

-
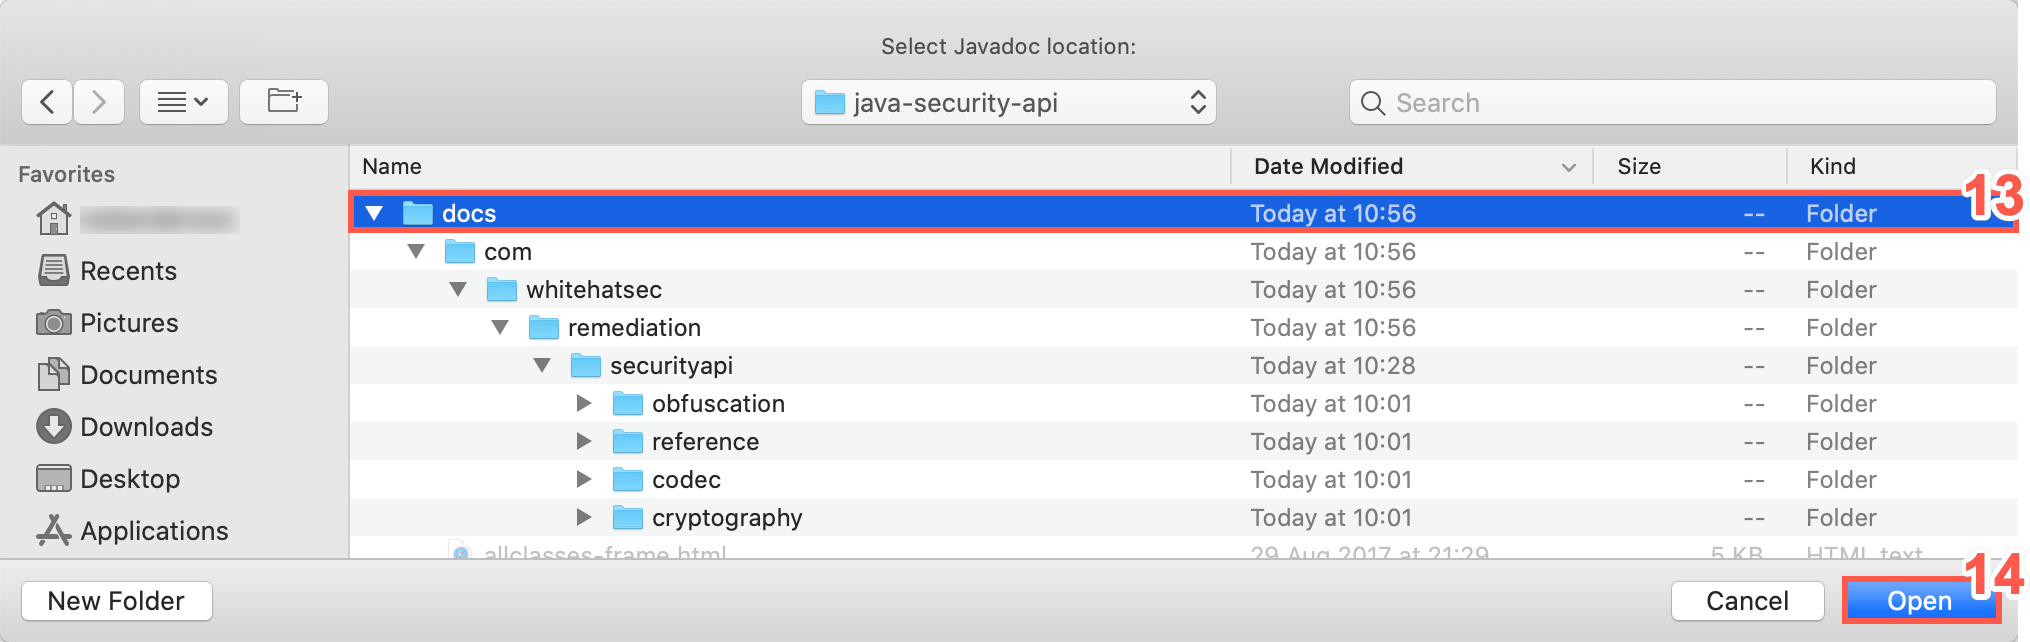
Select the folder or directory containing the API documentation.
-
Click Open.
-
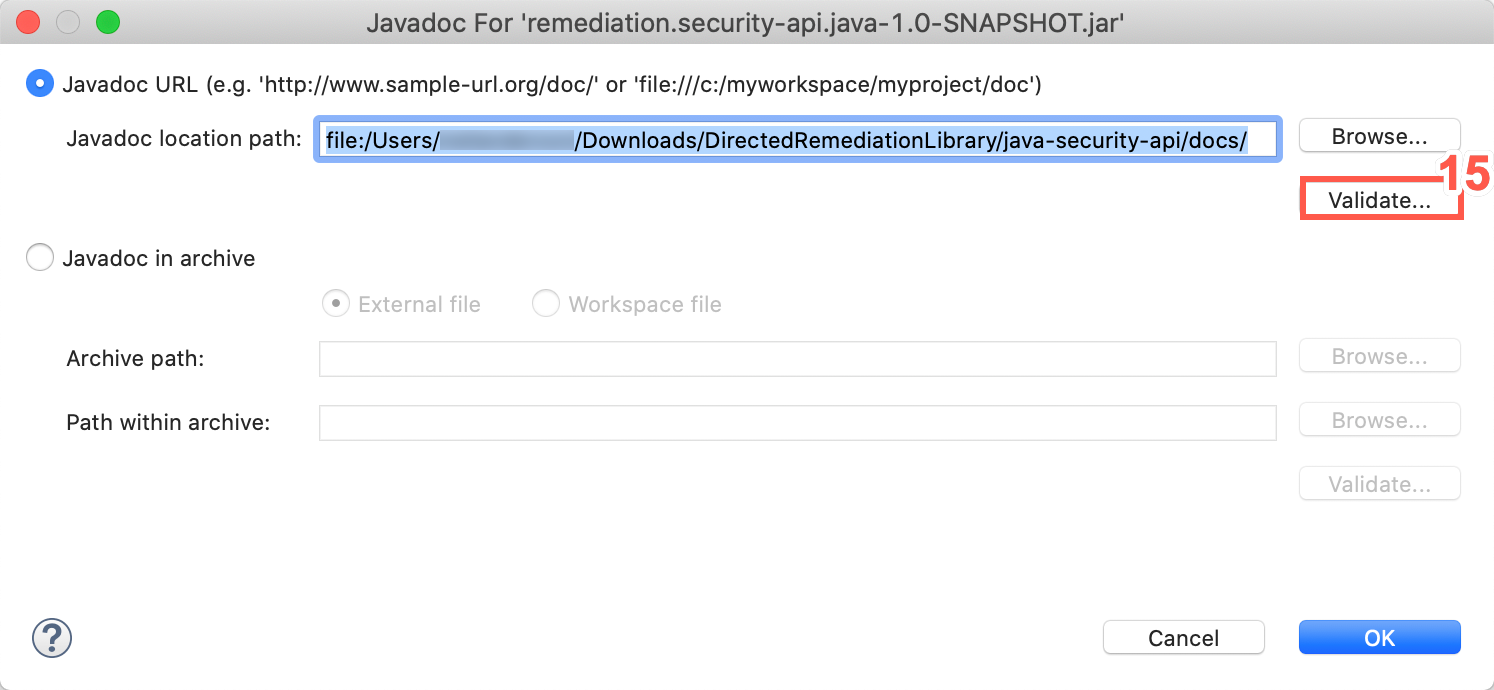
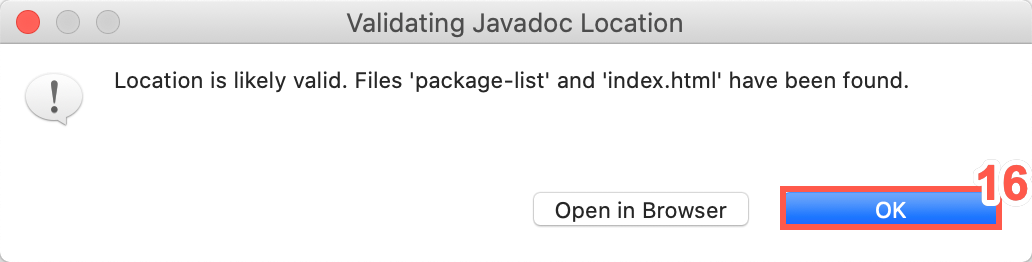
Click Validate.
-
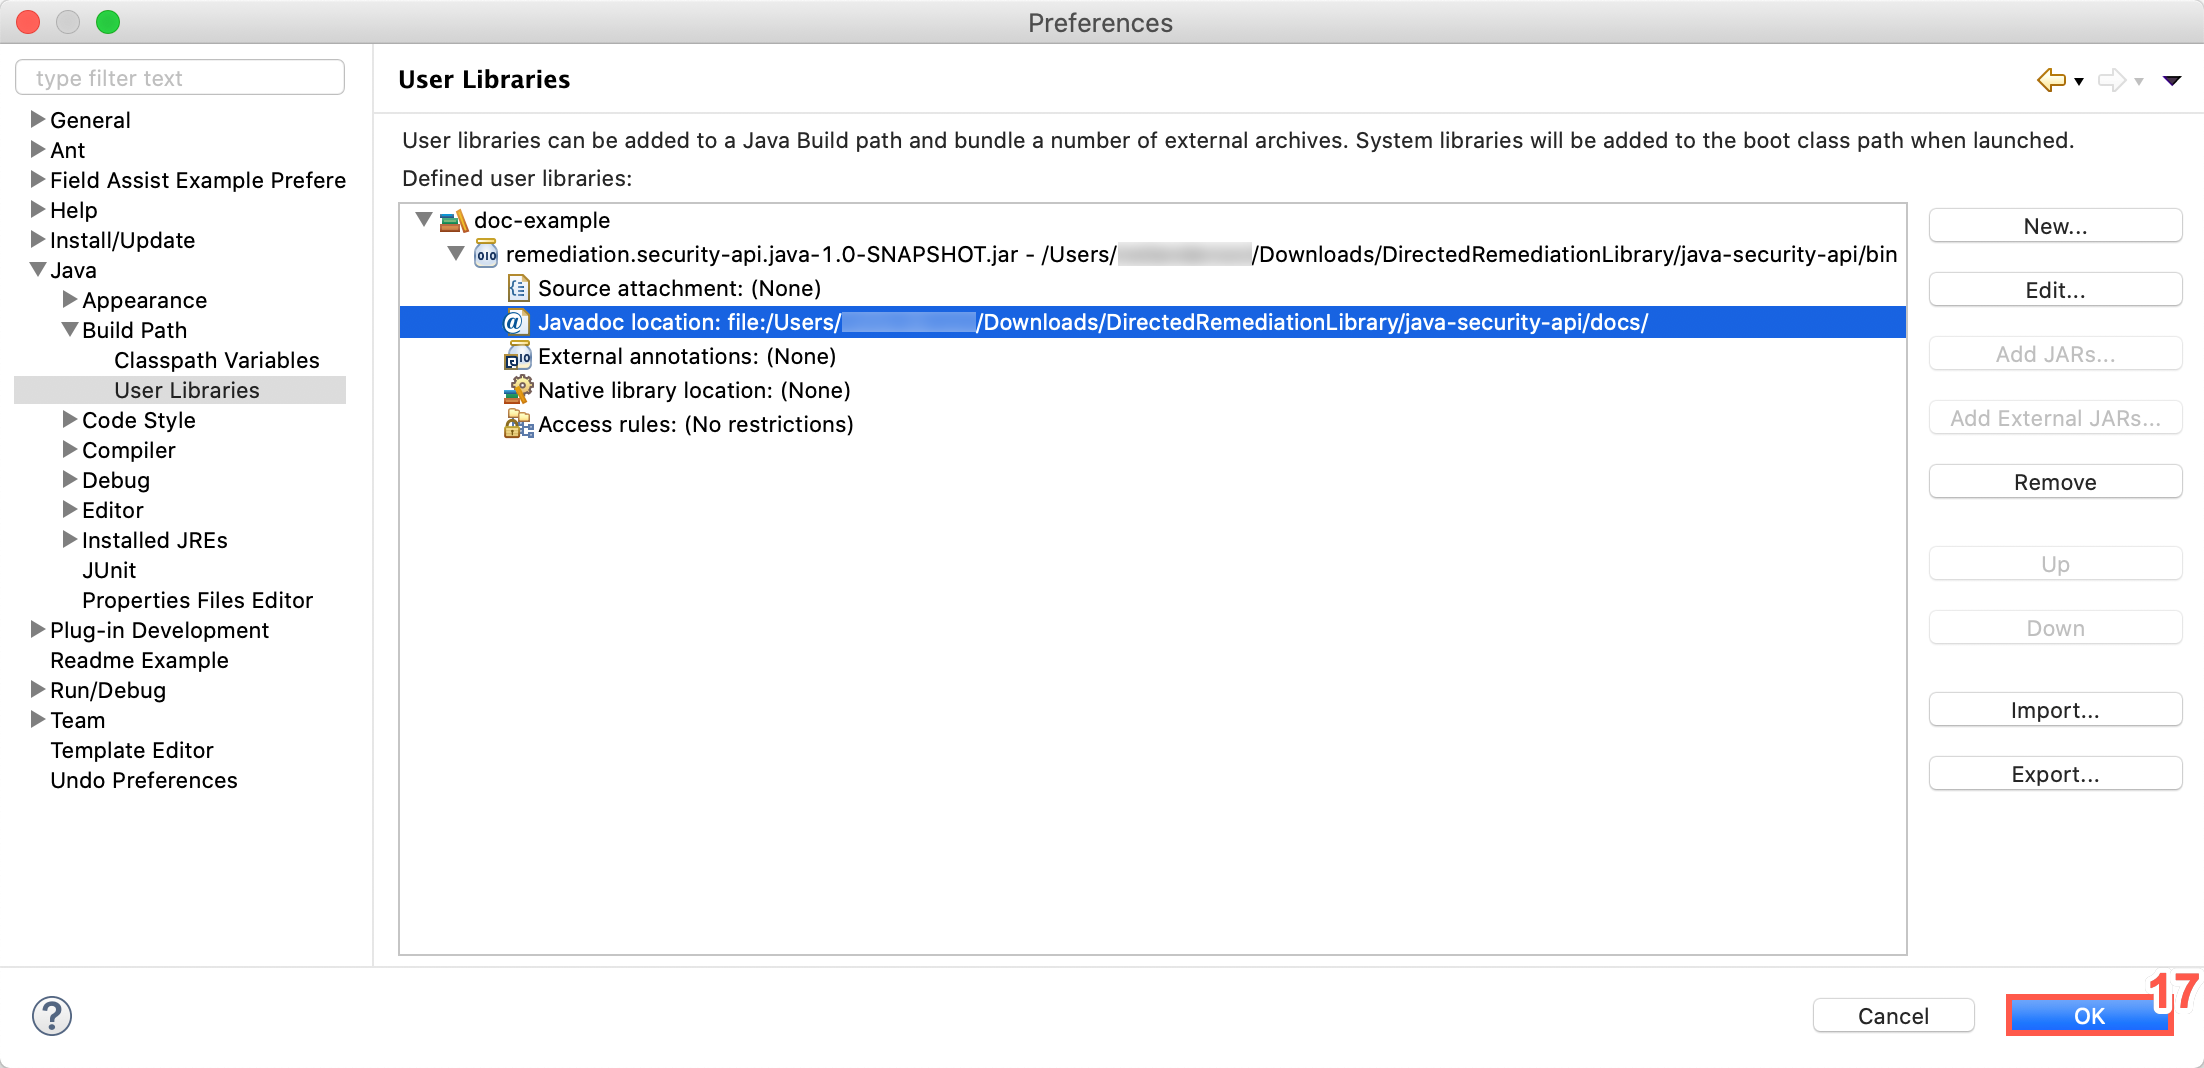
Click OK.
-
Click OK to close the Preferences window.
Once the user library has been added successfully, it needs to be added to the project build path.
Configure Build Path In Eclipse
To add the library to the projects build path, perform the following steps:
-
Right click on the project and select Build Path
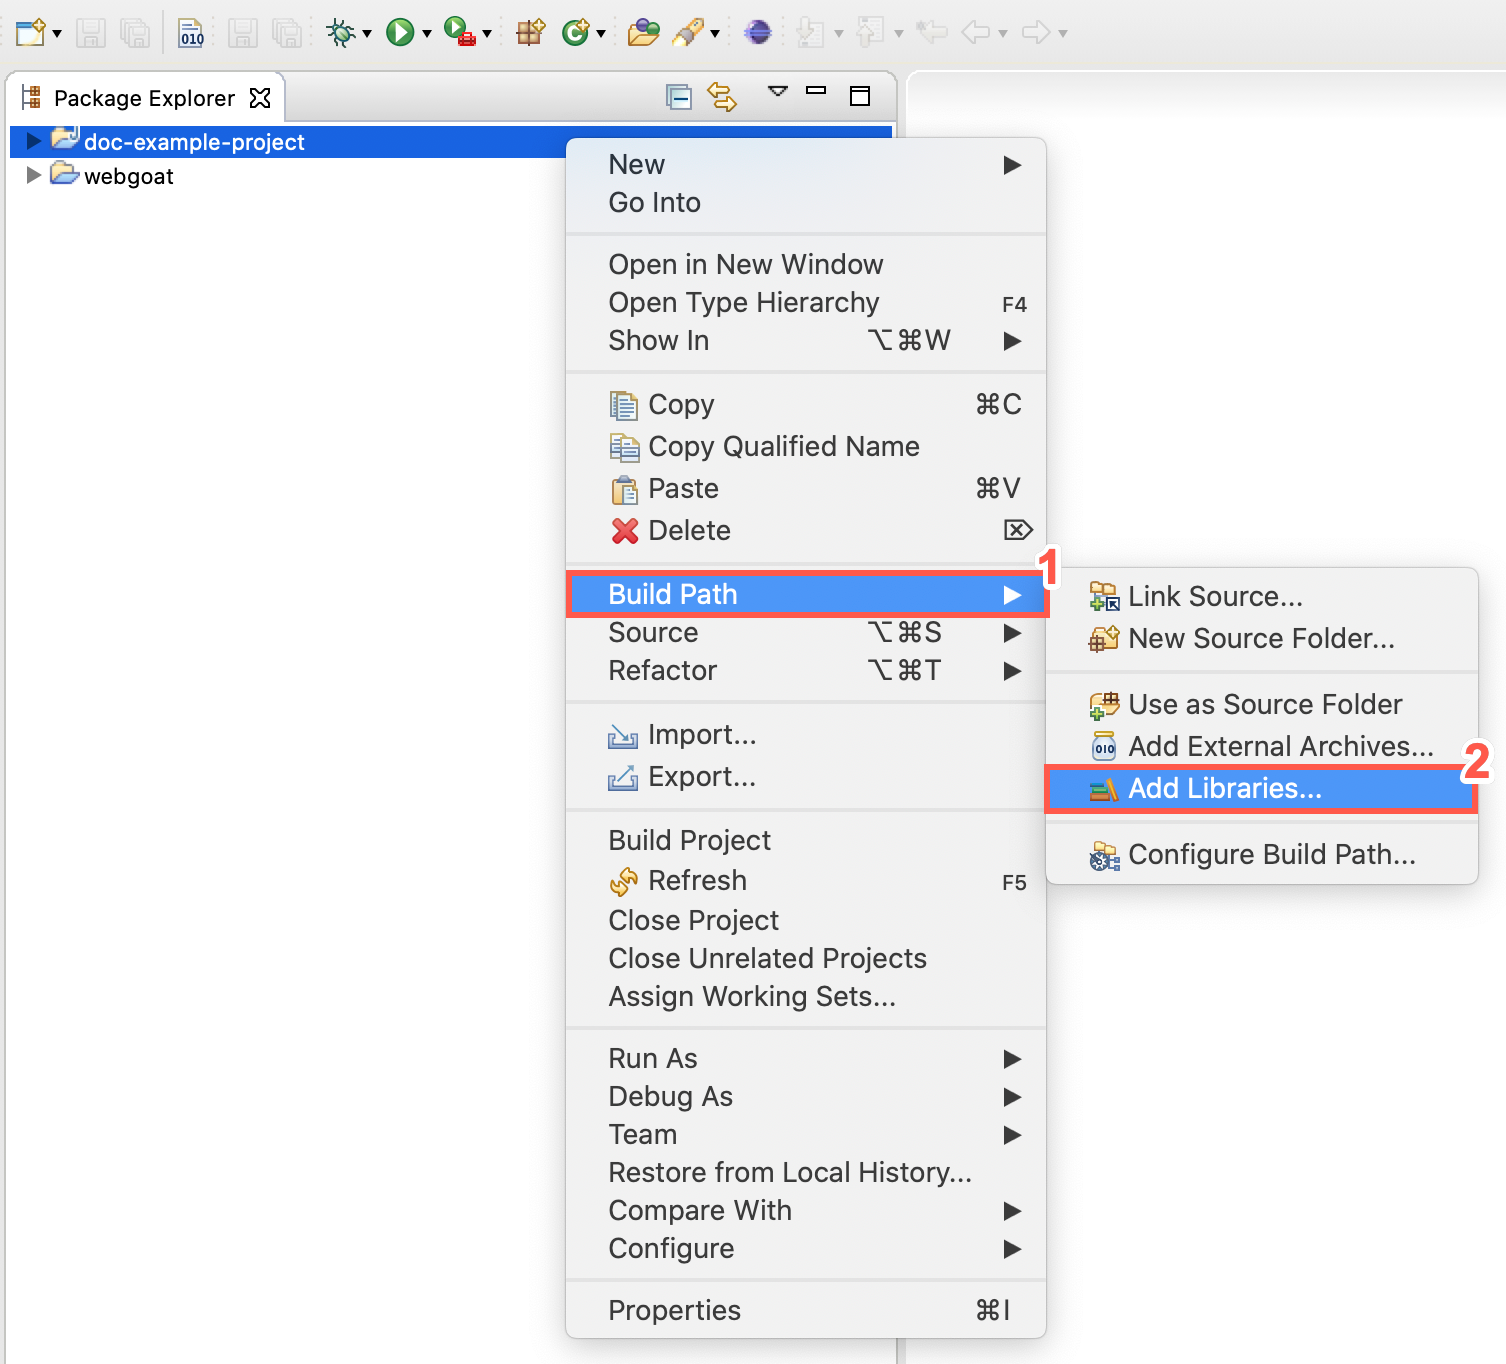
-
Select Add Libraries.
-
Select User Library.
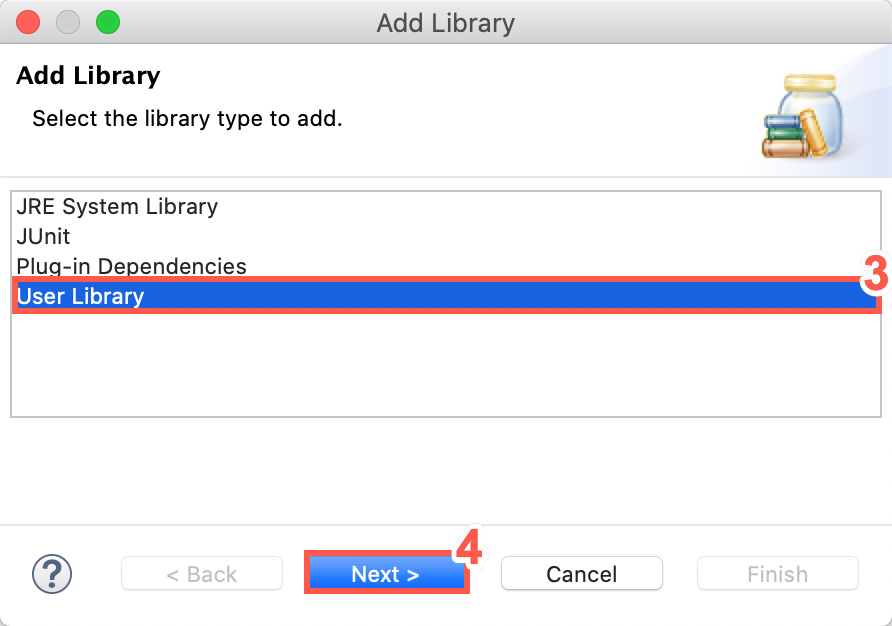
-
Click Next.
-
Click the checkbox to add a library to the classpath.
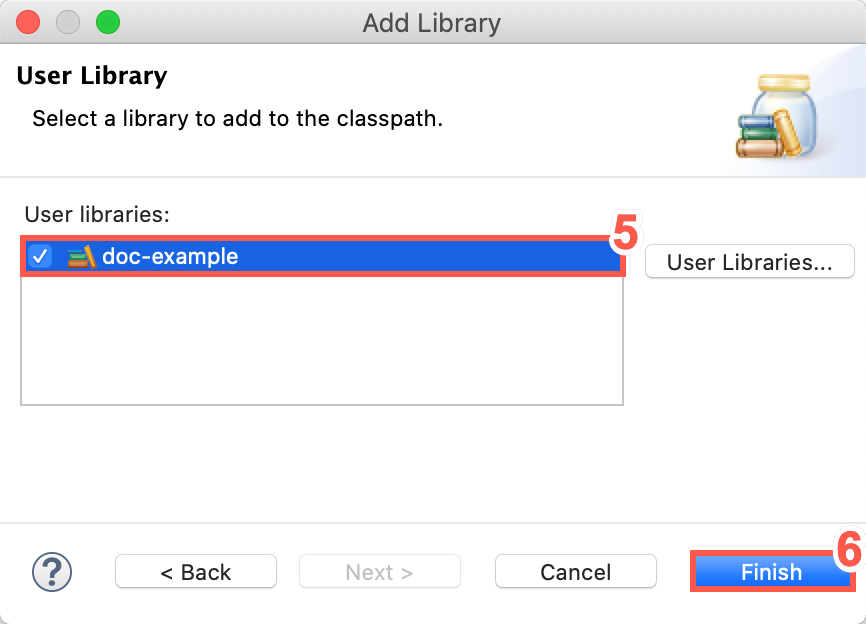
-
Click Finish. The library is displayed in the Package Explorer beneath the default Java class folder.
In IntelliJ
To add the library to your Java project in IntelliJ IDE, perform the following steps:
-
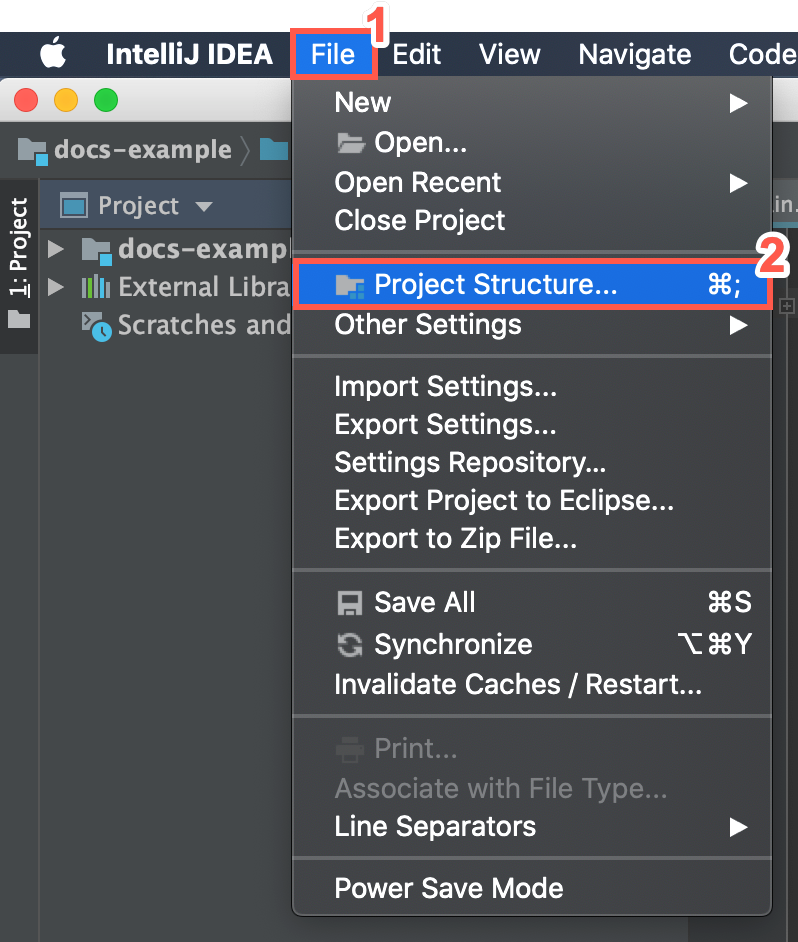
Select File from the menu bar.
-
Select Project Structure.
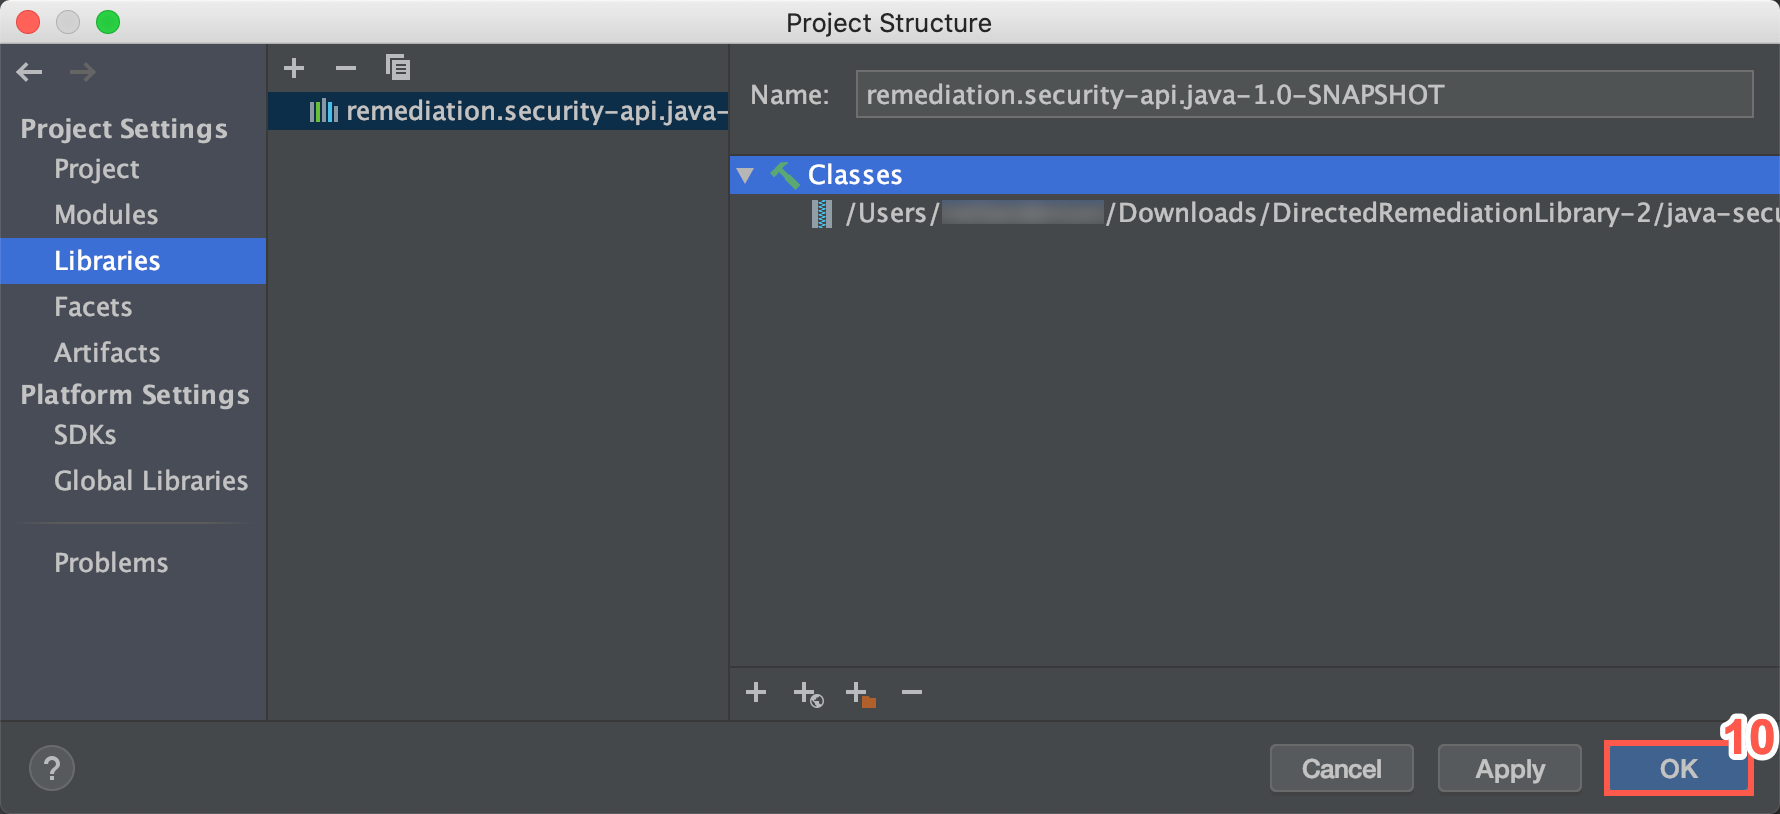
-
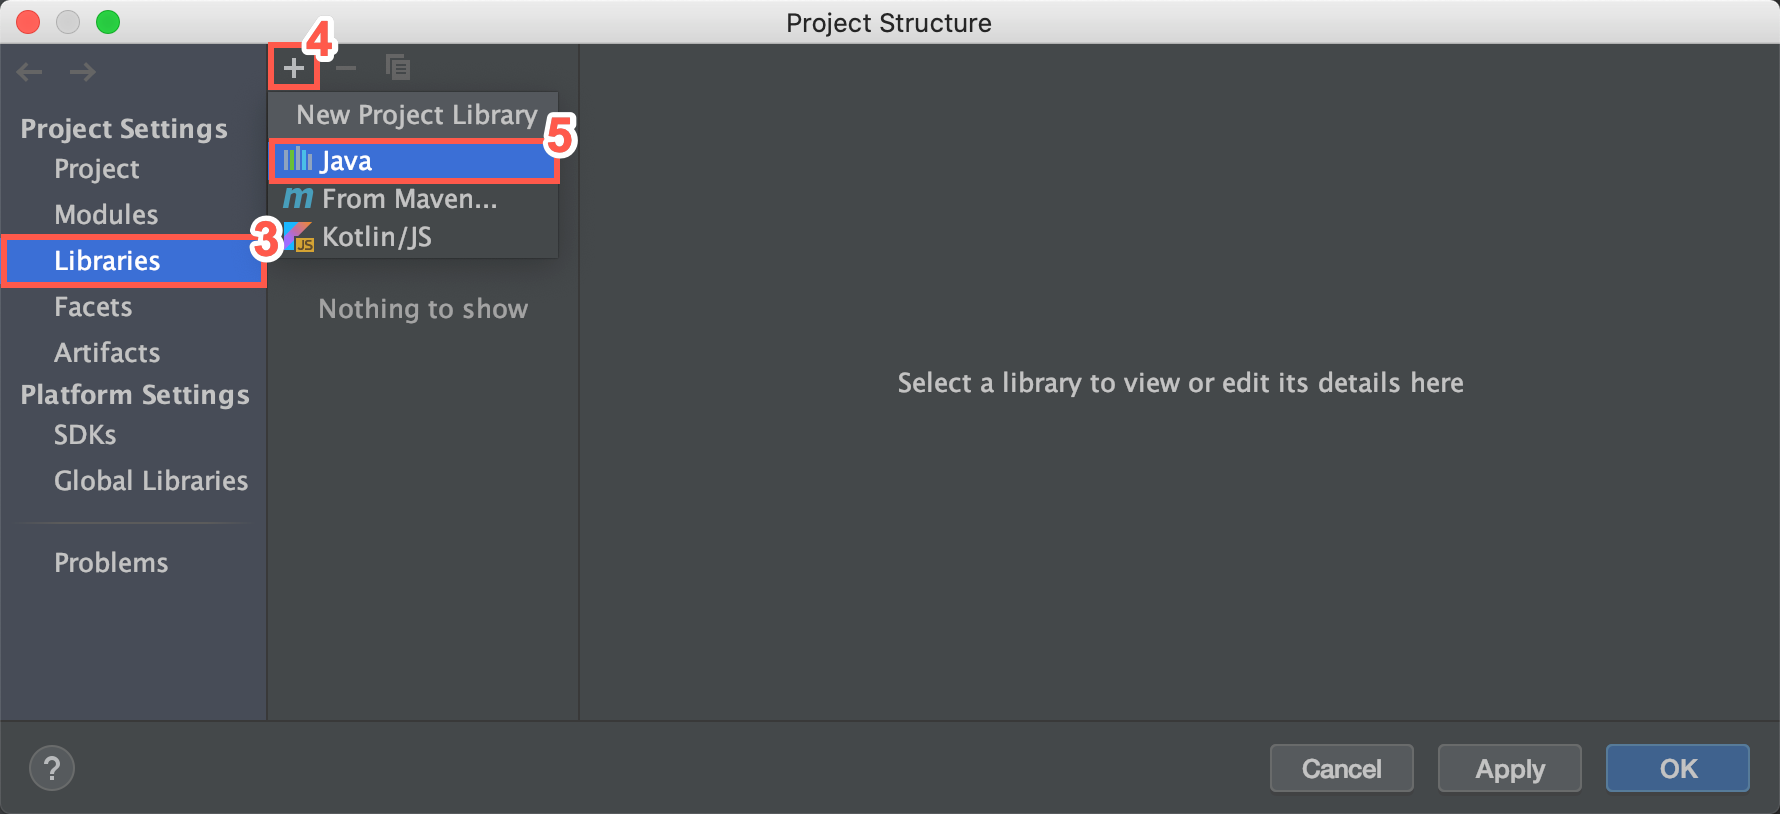
Click Libraries.
-
Click the plus (+) icon.
-
Select Java from the dropdown.
-
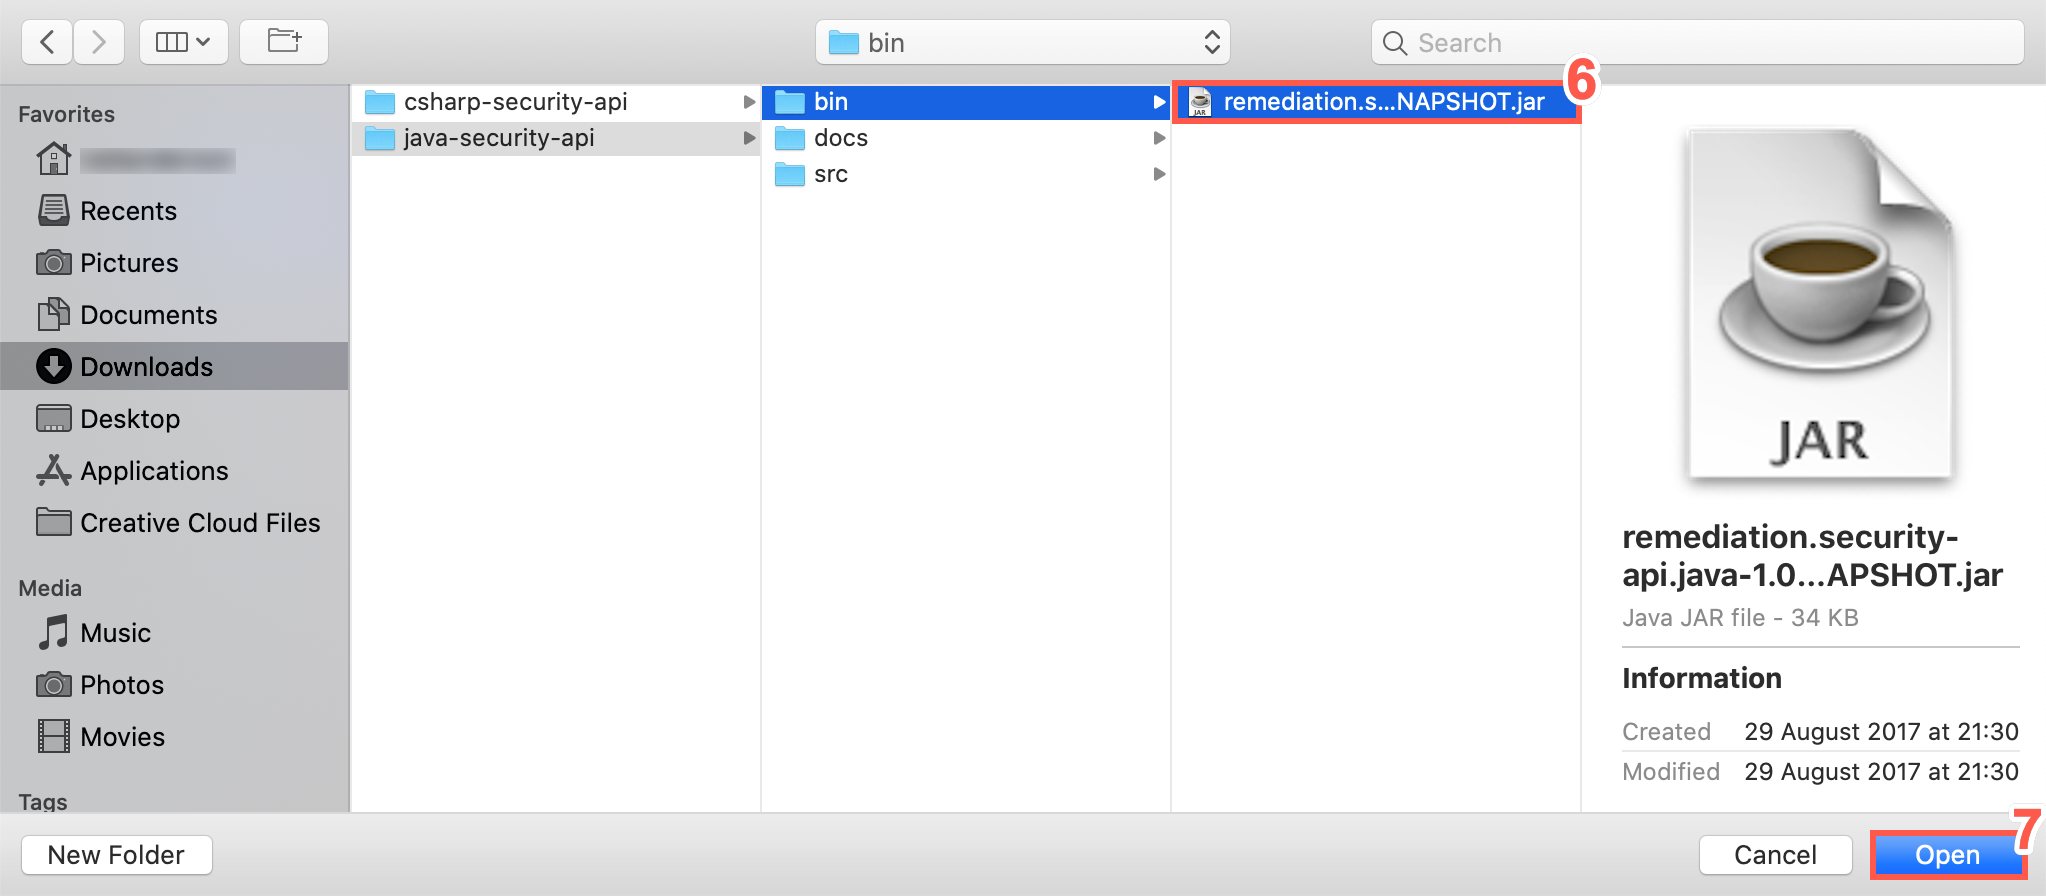
Select the .jar file to add.
-
Click Open.
-
Select the module to add the library to.
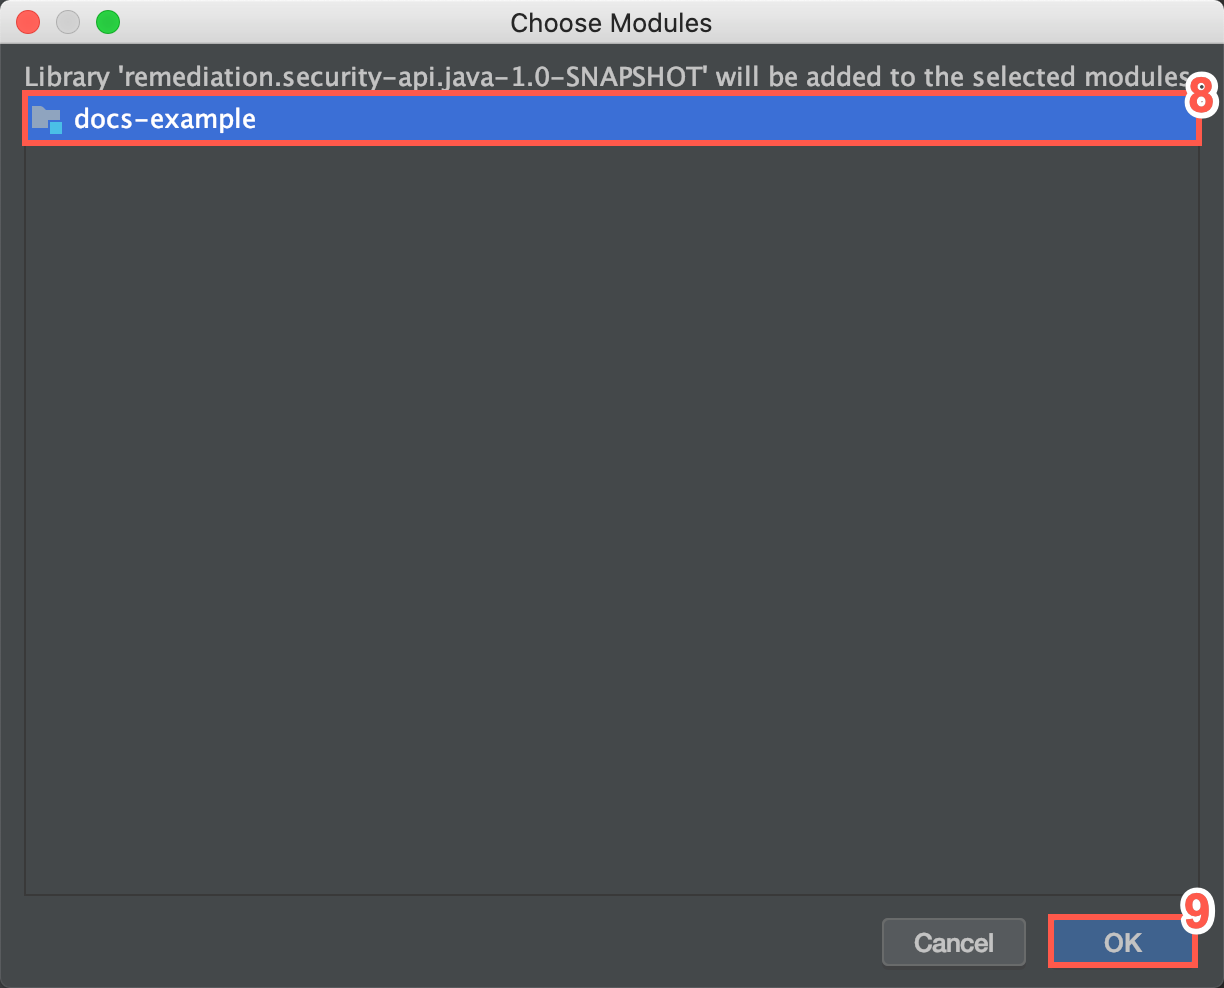
-
Click OK.
-
Click OK to close the Project Structure window.
Adding the Library to a C# Project
To add the .NET library to your C# project, perform the following steps:
-
Unzip the folder
remediation.csharp.security-api.dll. -
Save the .dll file to the third-party dependencies folder in the source tree.
-
Right click the references folder and select Add Reference.
-
Browse to find the extracted folder and select the .dll file
remediation.csharp.security-api.dll. -
In classes that are intended to use this library, insert
using remediation.csharp.security-apiin the using statements at the top of the class. -
You can now access the library.