Adding Your Mobile Assets
This section provides instructions on how to add a mobile asset and upload associated files:
-
In the main Continuous Dynamic Portal toolbar, select the Assets tab to open the Asset Management page.

-
Click the Add Asset button.
-
Select Add Mobile Application from the dropdown list.
-
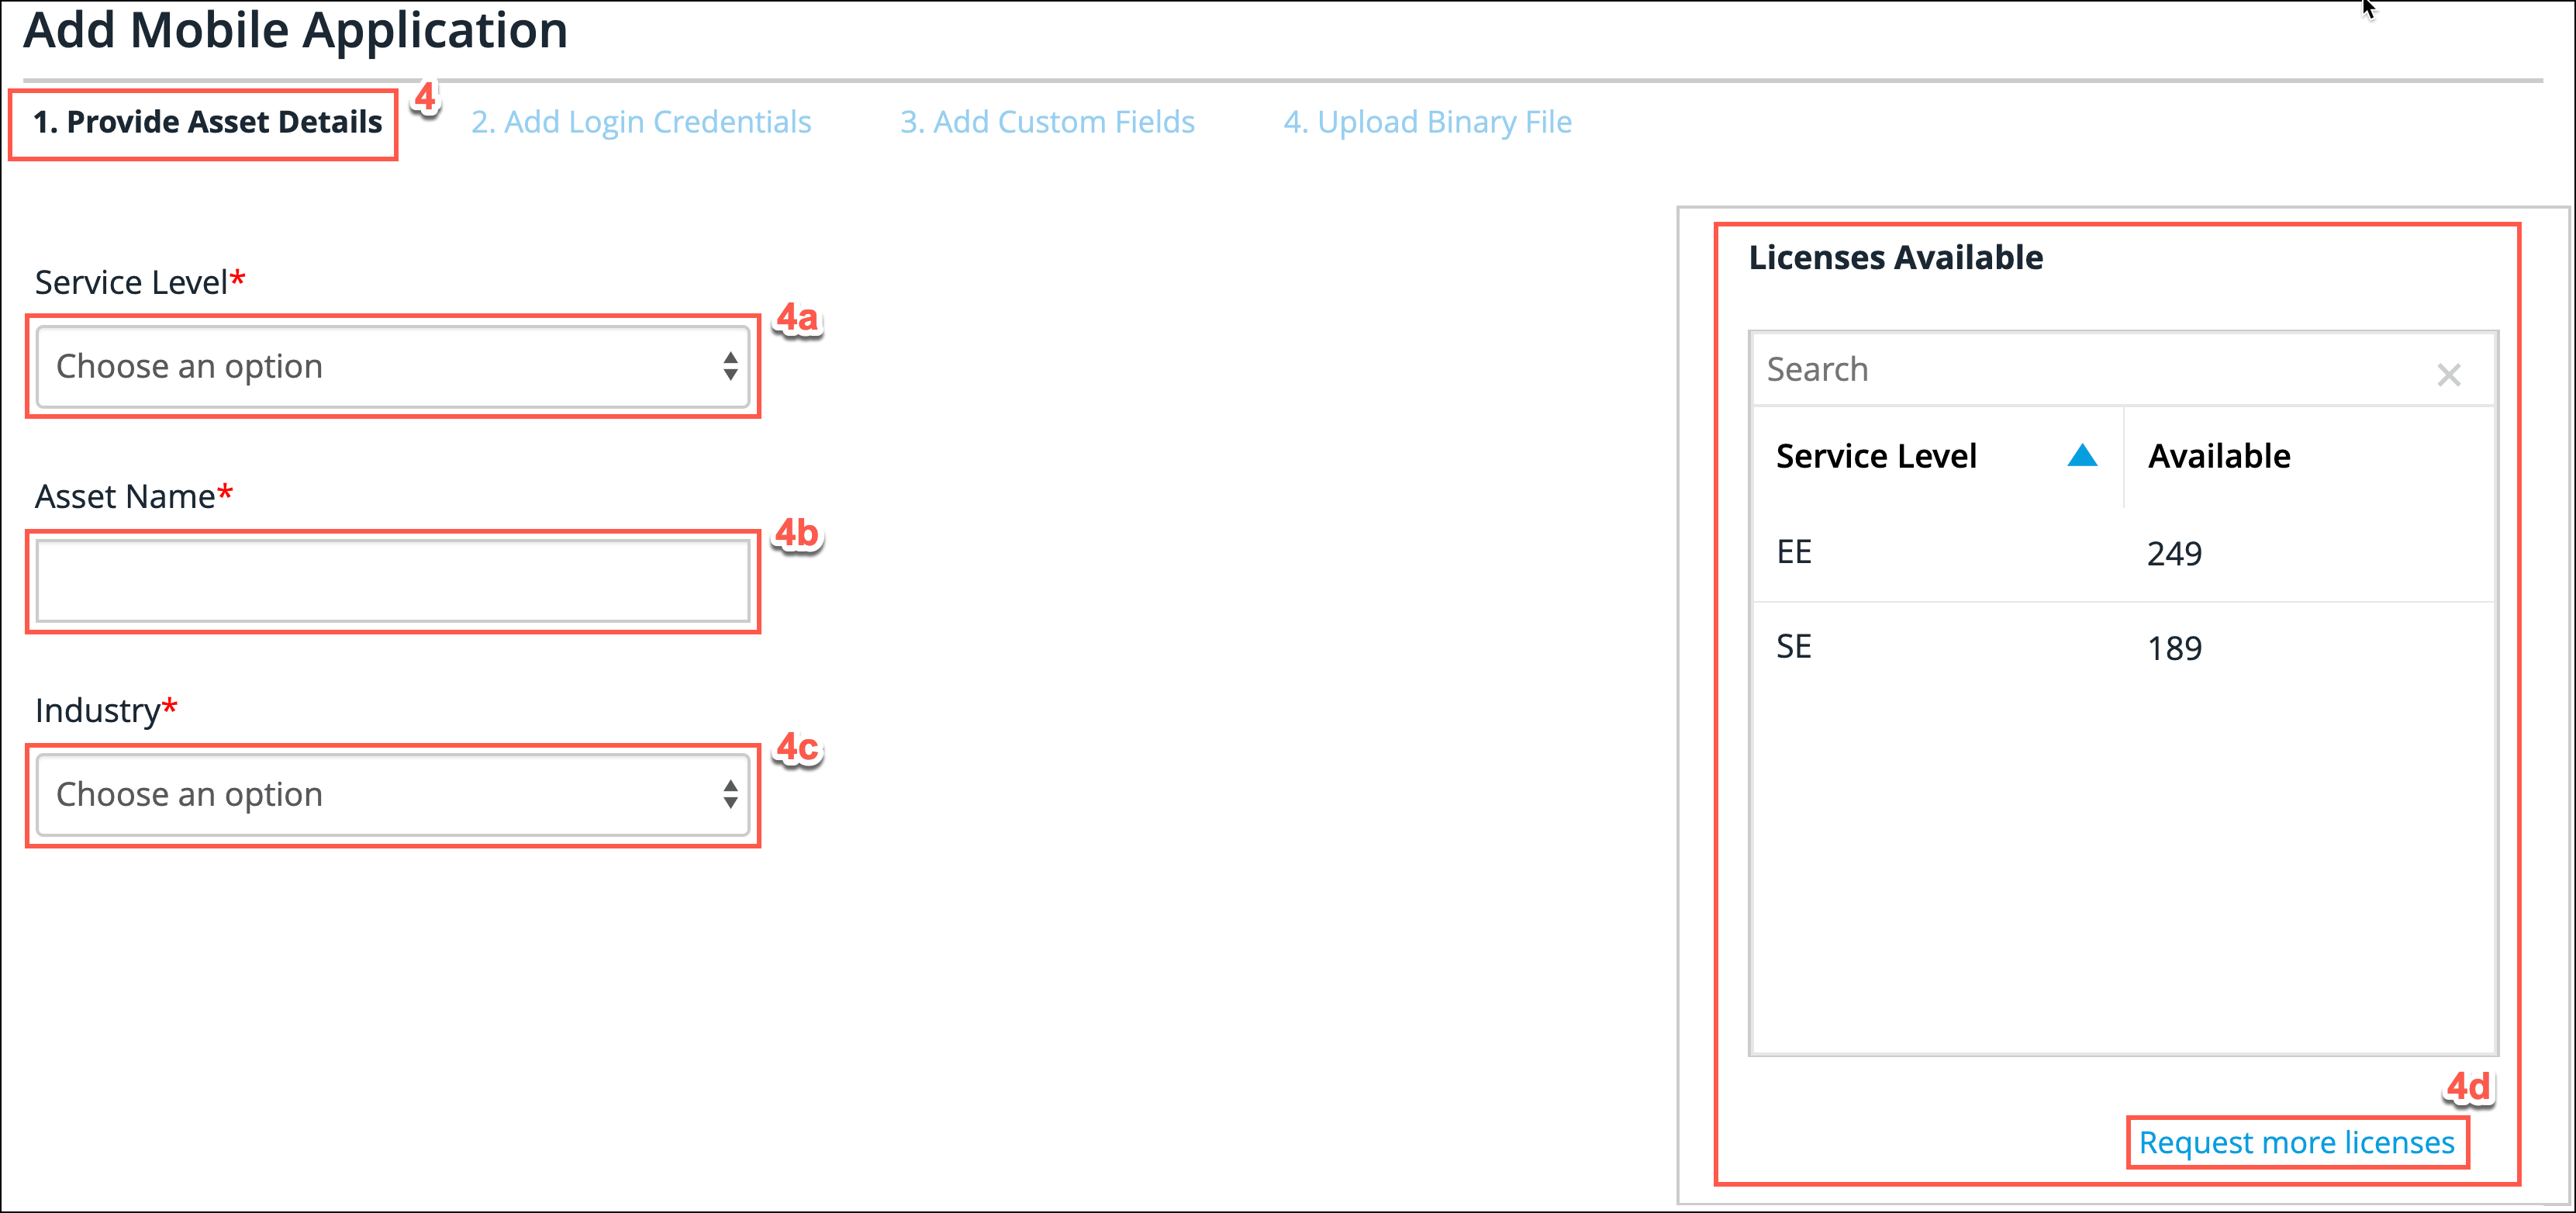
In the Add Mobile Application screen displayed, there are various tabs. Populate the following fields in the Provide Asset Details tab:
-
Select a service level from the Service Level dropdown.
-
Type a name for the asset in the Asset Name text field.
-
Select an industry from the Industry dropdown.
-
Review the section Licenses Available and if more licenses are required, an administrator can click Request More Licenses. This creates a Salesforce case regarding your license request.
-
-
Click Next to proceed.

Alternatively you can click Skip and Create Now to add the asset with the default attributes, or click Cancel. -
Populate the following fields in the Provide Asset Details tab:
-
Type your desired username into the Username field.
-
Type your desired password into the Credential password field.
-
Confirm your password in the Confirm credential password field.

-
-
Click Next to proceed.
Alternatively you can click Skip and Create Now to add the asset with the default attributes, or click Cancel. -
In the Add Custom Fields tab screen, populate the Required Custom Fields. Custom fields are personally identifiable information (PII) reviewed by the Black Duck TRC team to ensure that any sensitive information is not being stored, logged, or transmitted in an insecure fashion.
These Value fields must be populated in order to continue. The Term titles cannot be edited for Required Custom Fields. 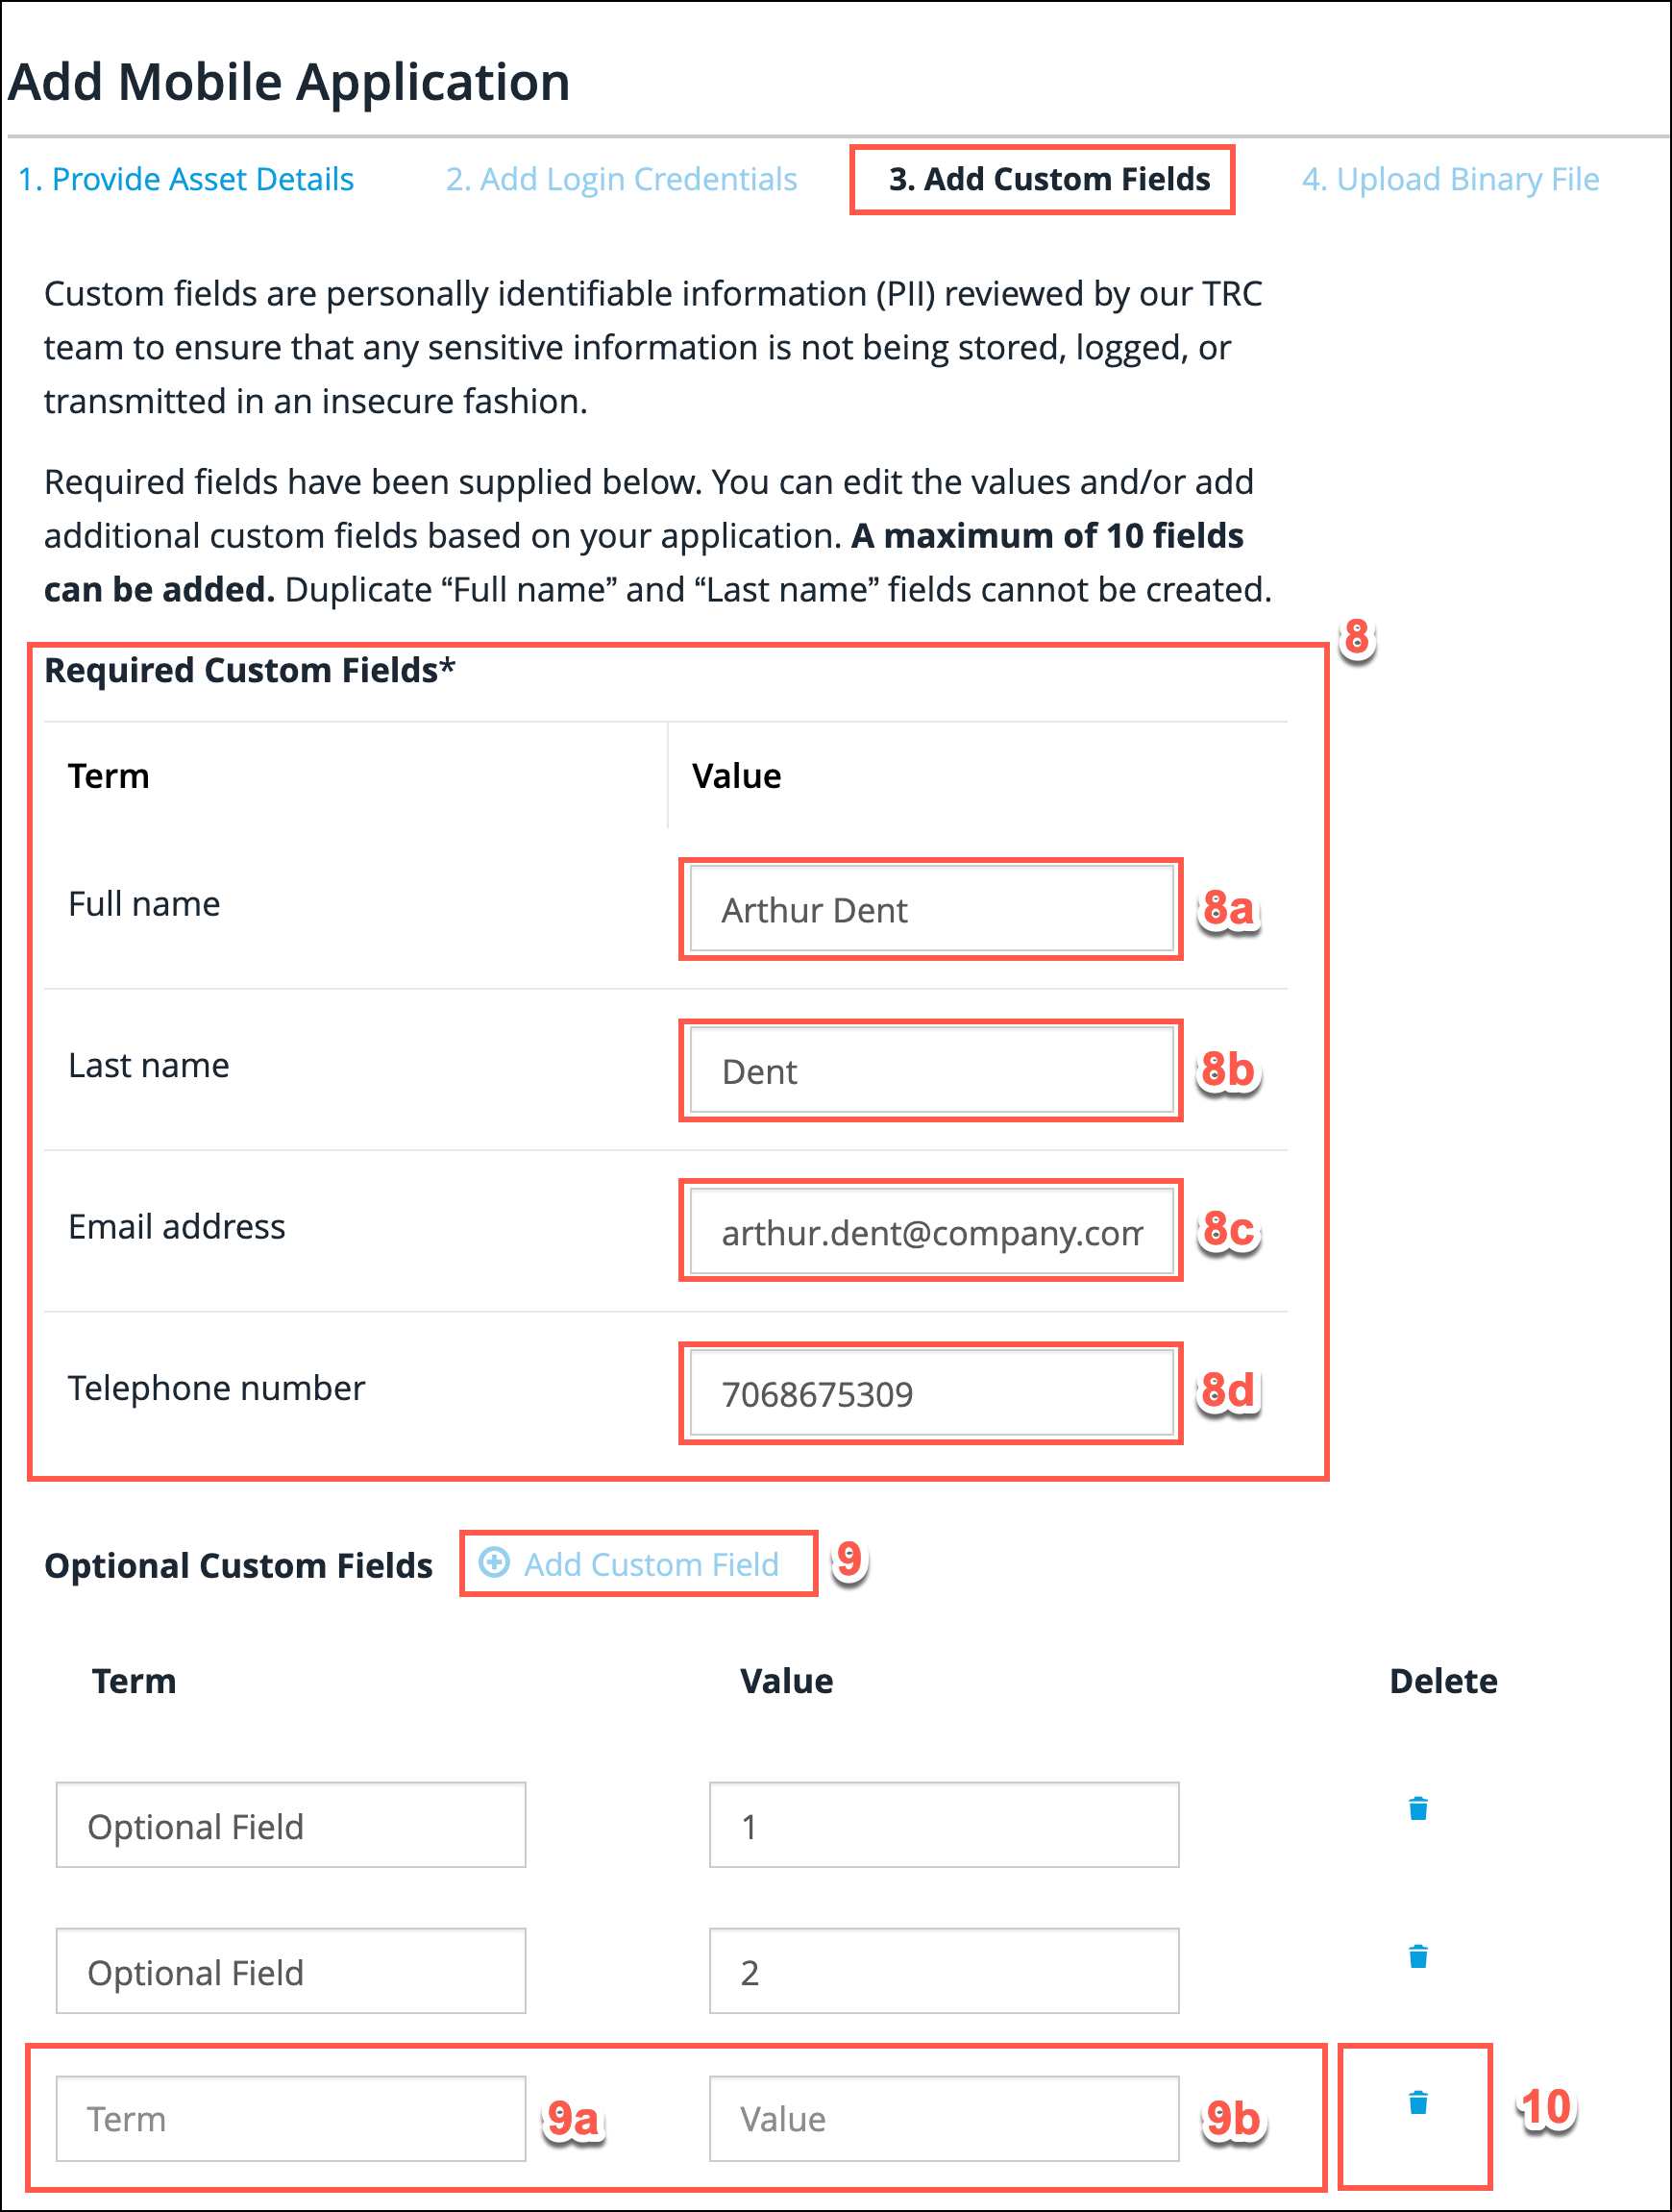
-
Populate the Value field labeled Full name.
-
Populate the Value field labeled Last name.
-
Populate the Value field labeled Email address.
-
Populate the Value field labeled Telephone number.
-
-
At the bottom of the Add Custom Fields tab screen, optionally click Add Custom Field. Unlike Required Custom Fields, these are optional fields that you can add if necessary.
-
Populate the Term field.
-
Populate the Value field.
In Optional Custom Fields, duplicates cannot be created for Full name and Last name.
-
-
Click the trash/bin symbol beside each Optional Custom Fields entry that is no longer required.
-
Click Next to proceed.
Alternatively you can click Skip and Create Now to add the asset with the default attributes, or click Cancel. -
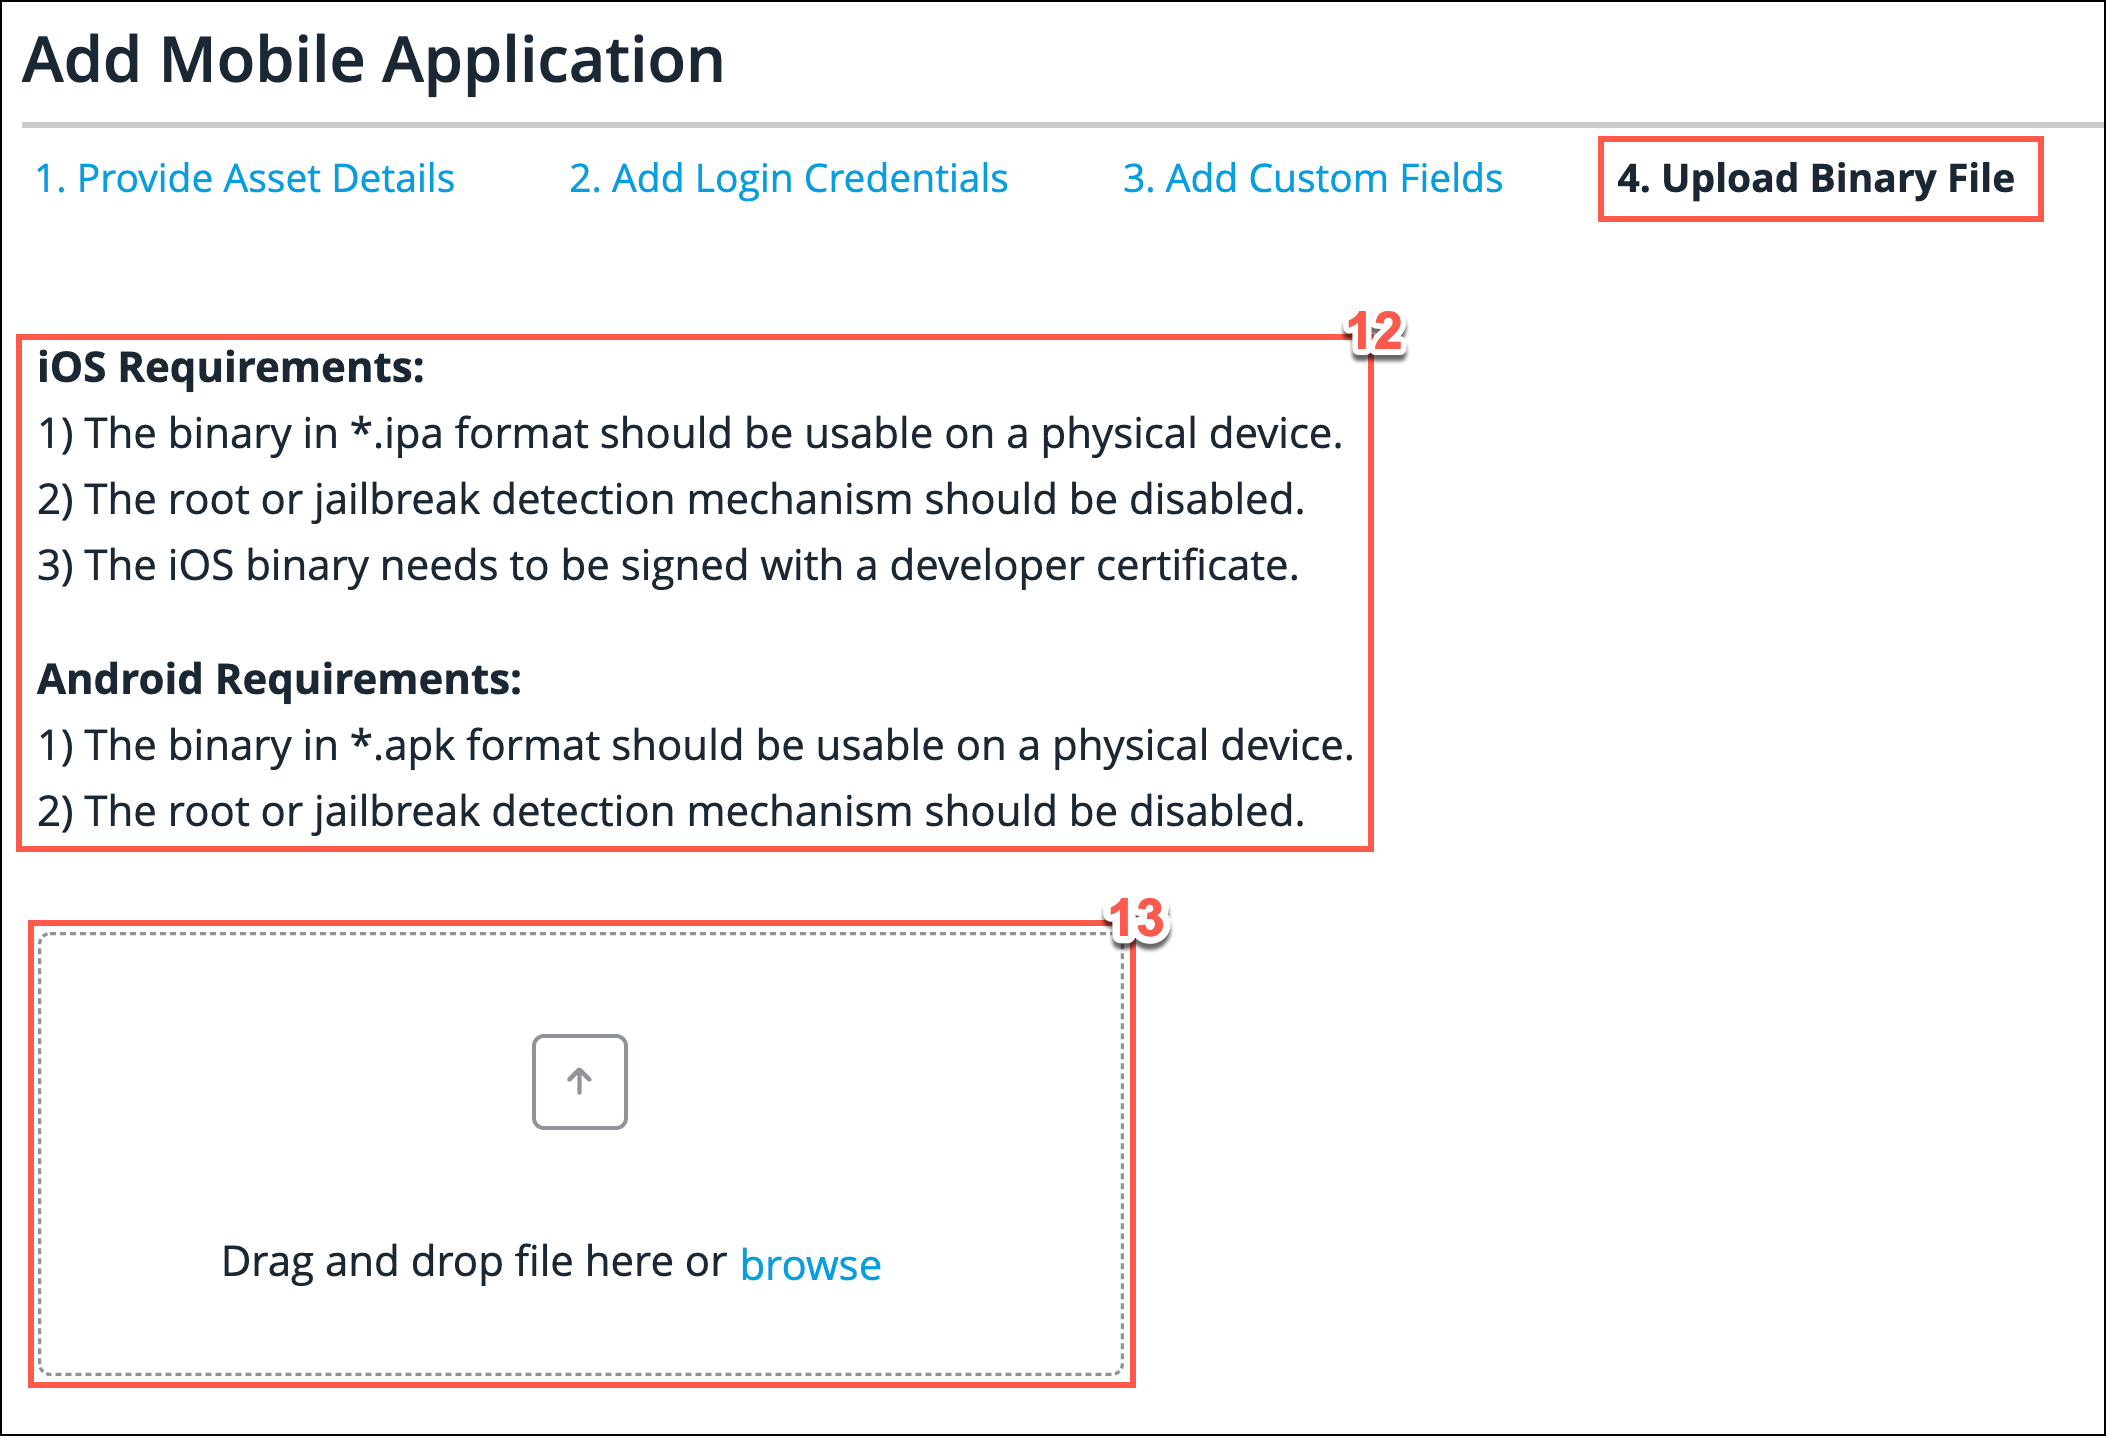
Ensure that your binary file meets the following iOS or Android requirements displayed below.
-
In the Upload Binary File tab, either drag and drop your required binary file into the 'drag and drop' box, or use the Browse link to navigate to the required binary file that you want to scan.
-
Following successful upload of your binary file, the Create button changes to Create and Scan. Click Create and Scan to proceed.

Alternatively you can click Skip and Create Now to add the asset with no associated binary file, or click Cancel. -
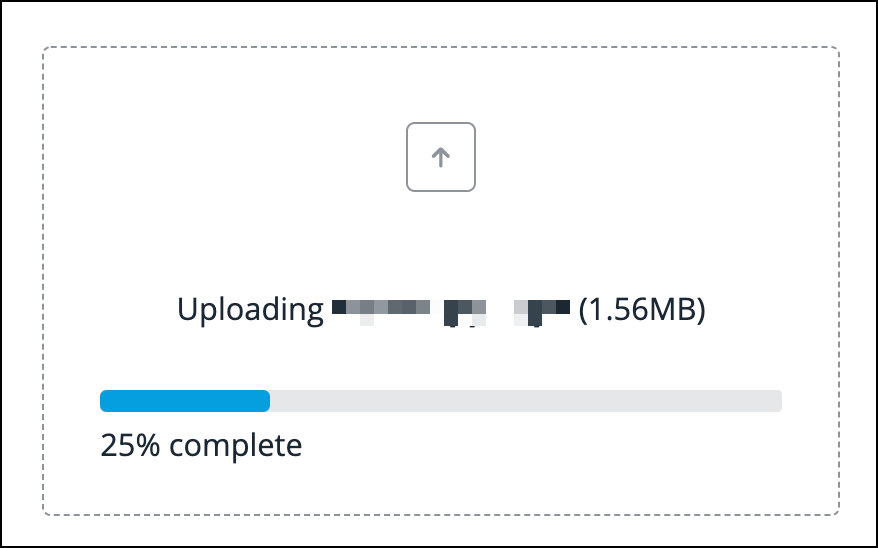
You can follow progress of your upload by viewing the upload progress bar.
-
Following successful upload, the Asset Management screen is displayed. Your mobile asset has been successfully added.