Deploying the Sentinel Appliance On-Premises Using VMWare
| The Sentinel Appliance can no longer be used for SAST and SCA scanning of source code and binaries. This functionality has been deprecated. |
-
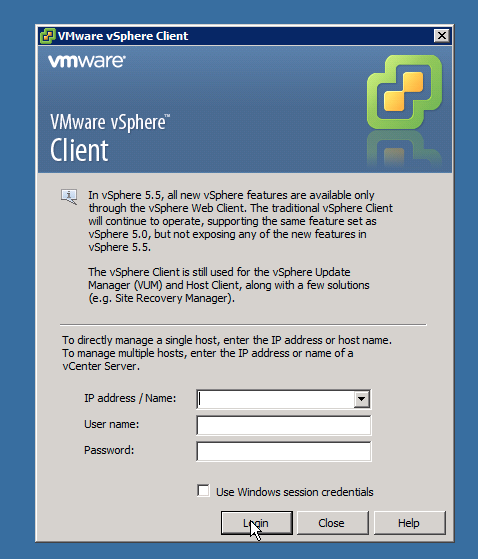
Open the VMWare vSphere client and log in.
-
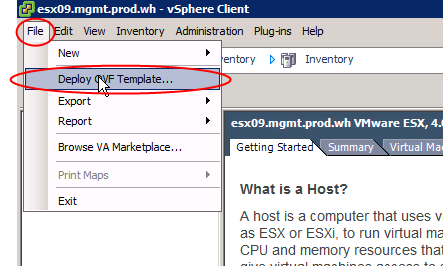
In the vSphere client, select "File" and choose "Deploy OVF Template."
-
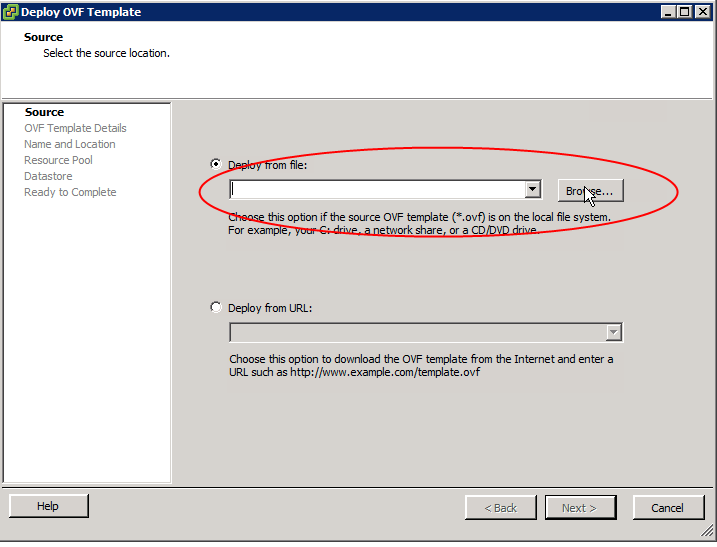
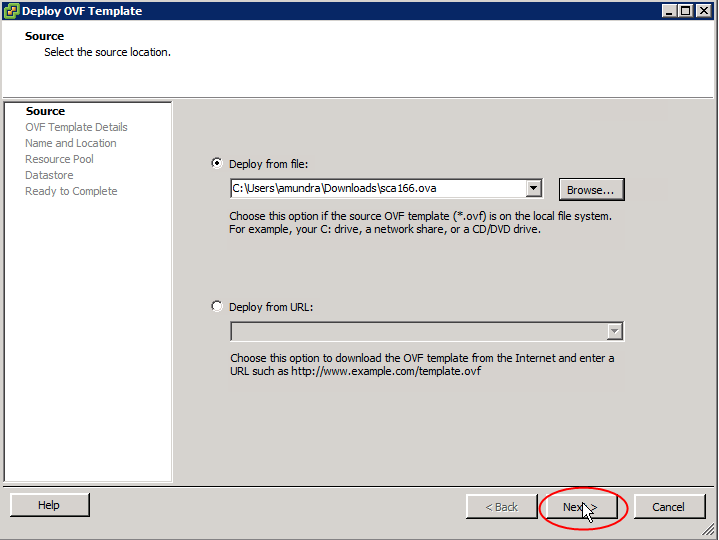
Select "Deploy from file" and browse to the location of the file.
-
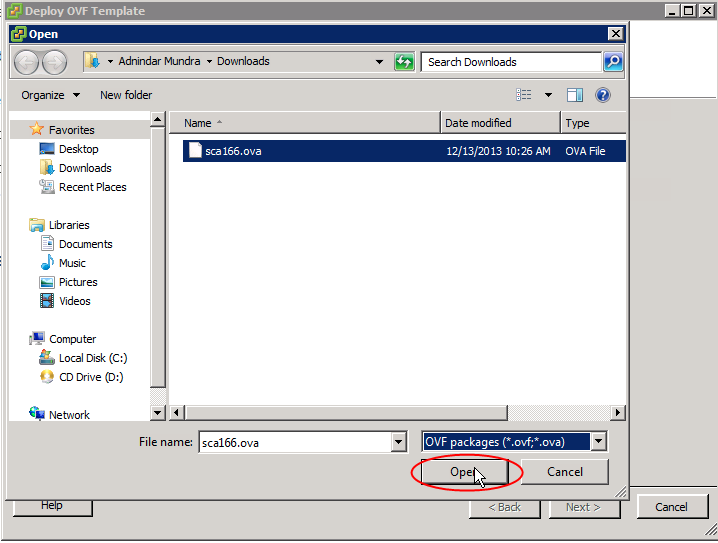
Select the file and click on "Open."
-
When you have chosen the correct file, click on "Next."
-
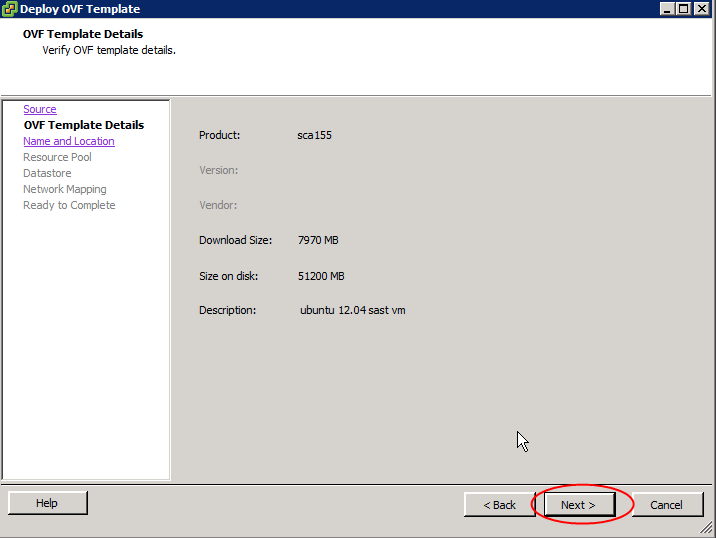
Click on "Next" again.

-
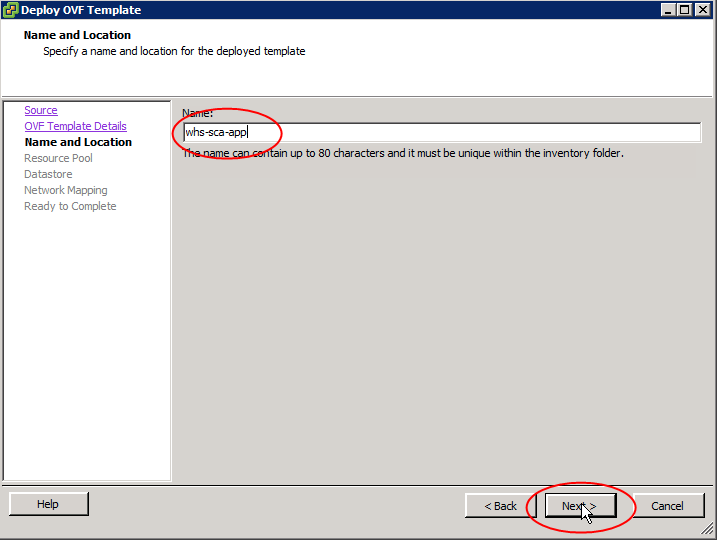
Click on "Next" again.
-
Confirm that the file name is correct, and click on "Next."
-
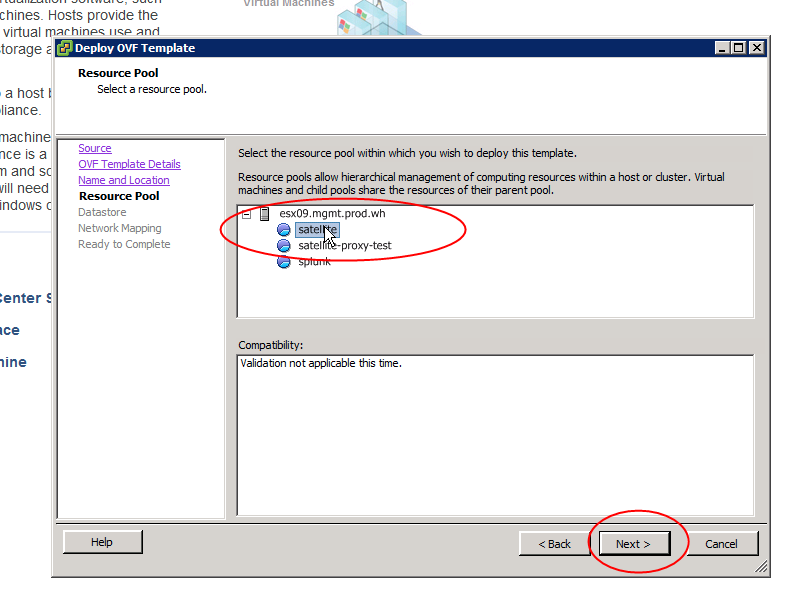
Select the appropriate Resource Pool and click on "Next."
-
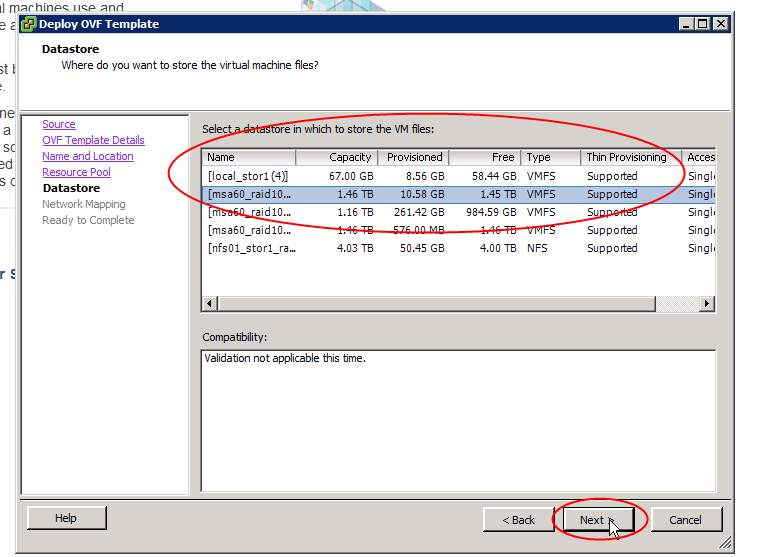
Select the appropriate Data Store and click on "Next."
-
Complete the Network mapping, showing what Networks the deployed VM should use:
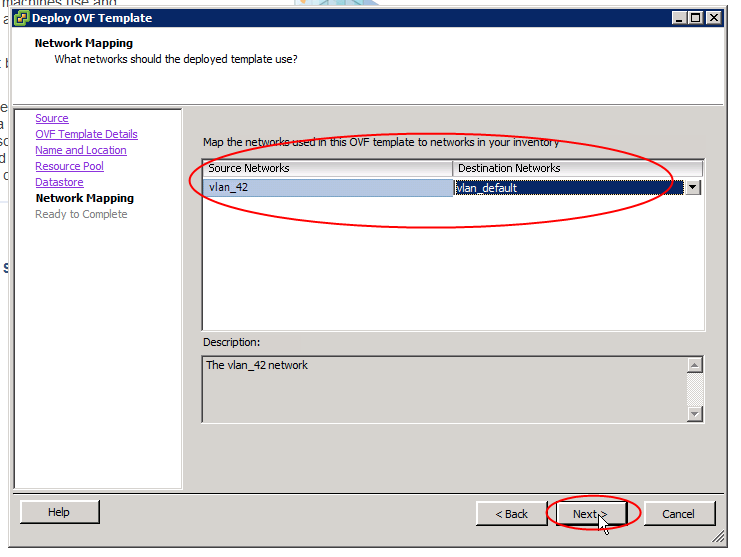
Please note that you need to assign a VLAN that has access to the applications to be scanned.
-
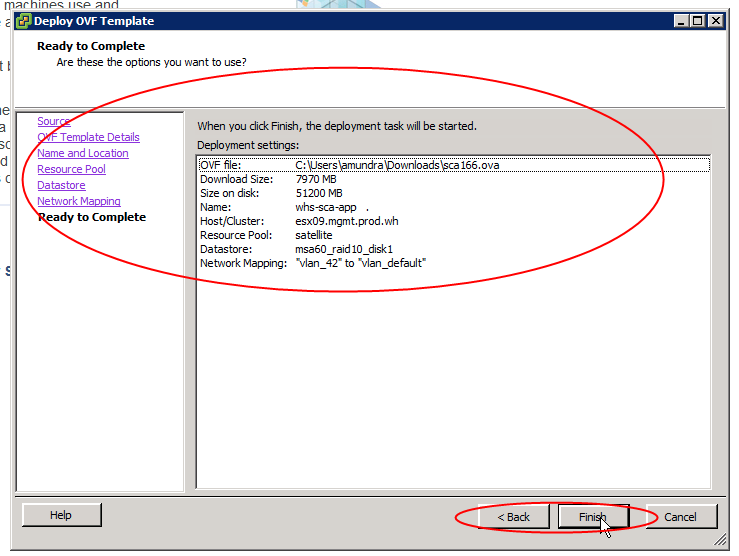
Review your selections, confirm that they are correct, and click on "Finish," or use the "Back" button to make changes.
-
You will see the progress bar for the deployment of the VM:
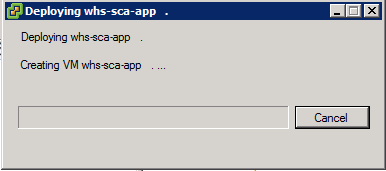
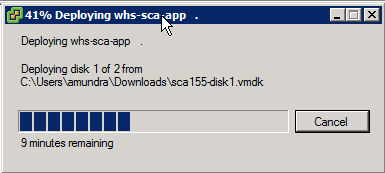
When the VM is deployed, you can continue to Appliance Configuration.
If you receive an SHA/manifest error while importing, download the most recent version of the OVF tools from https://developer.vmware.com/web/tool/ovf/