Asset Details - Asset Certification Tab
Creating the Logo
To create your "Protected by WHS" WhiteHat Security Trust Mark logo, follow this process:
-
Log into the Continuous Dynamic Portal.
-
Click the "Asset Certification" tab.
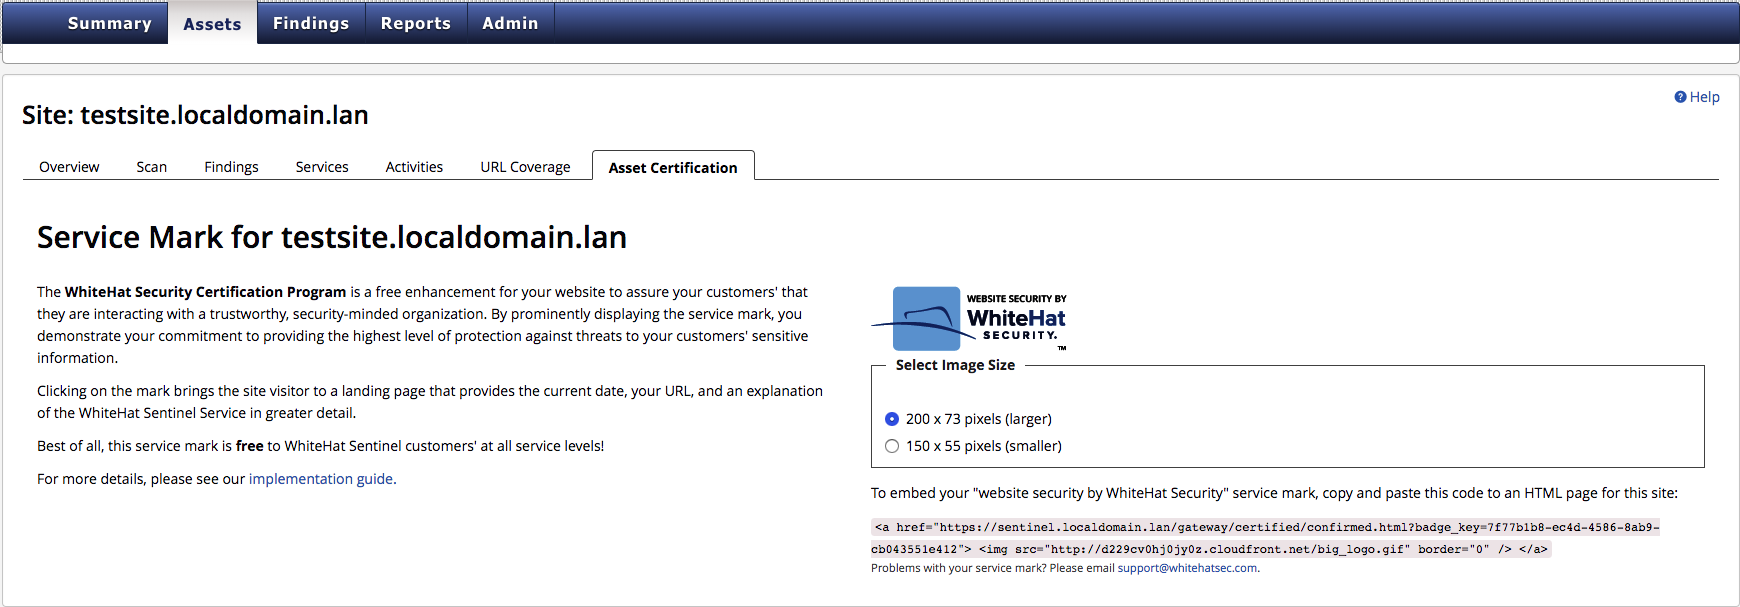
You will see the Certification Program screen, where you can select an image size. Use the radio buttons to select the image size you want, then click on the "Website Security By WhiteHat" button to create your new service mark.
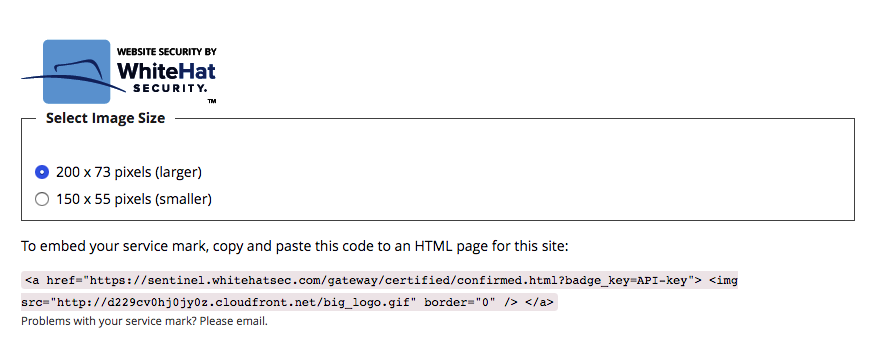
When you click to create your service mark, you will see HTML code that has been generated for your site on the Certification Program page. When you’re ready to add the mark to your site, copy the generated HTML code manually onto your system clipboard. Follow the next steps to insert this code on your chosen site.
Embedding Your WHS Trust Mark Logo
After you have copied the HTML code from the Trust Mark Program screen, open an HTML file for the appropriate site and paste the code inside the <body> tags of the HTML page. The code can be placed wherever you like — next to your shopping cart link, near a login form, or on your landing page.
Repeat the steps to create and embed a site-specific service mark for each of the sites where you want to display the certification logo.
Your embedded service mark code is bound exclusively to your website via a unique identifier that is only generated when you create your service mark for the first time. The ID is structured to be difficult for an outsider to guess and nearly impossible to enumerate.
Each time your WhiteHat Security service mark is clicked on your site, the key in the embedded code is verified against our records as a site currently monitored by the Sentinel Service. If it is a valid key, the site visitor is taken to a Web page that explains the website security program in greater detail, specifically naming your site and displaying the current date, as shown:
