Adding a Group
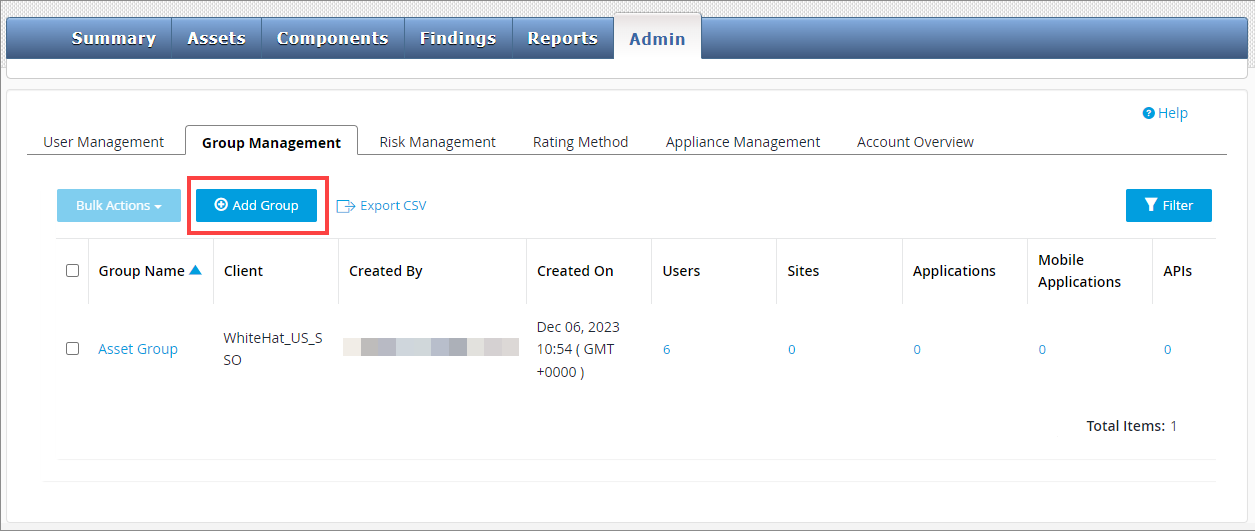
To add a new group, click on Add Group in the Group Management section of the Admin tab.

Complete the Add New Group form. If you are admin for multiple clients, you will also need to select the appropriate client. Each group must belong to only one client.

Enter the group name and a description of the group and then click "Save" to create the group.
Selecting Assets
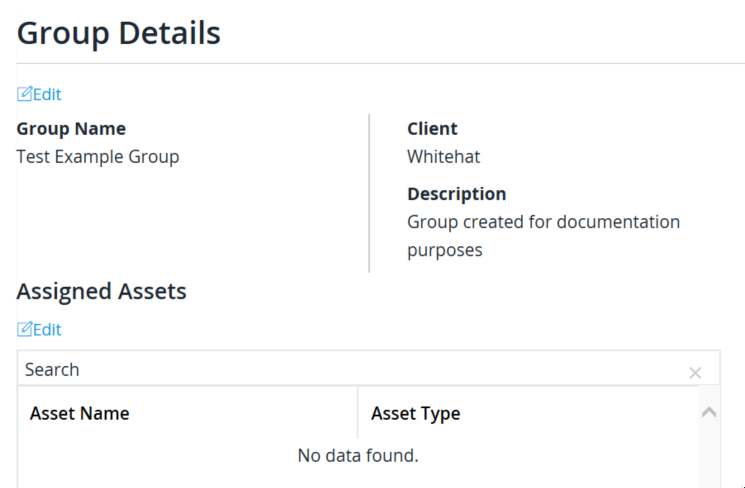
Once the group has been created, you can add sites and/or applications to the group. Click on the edit icon next to "Assigned Assets" to select the assets to be assigned to this group.

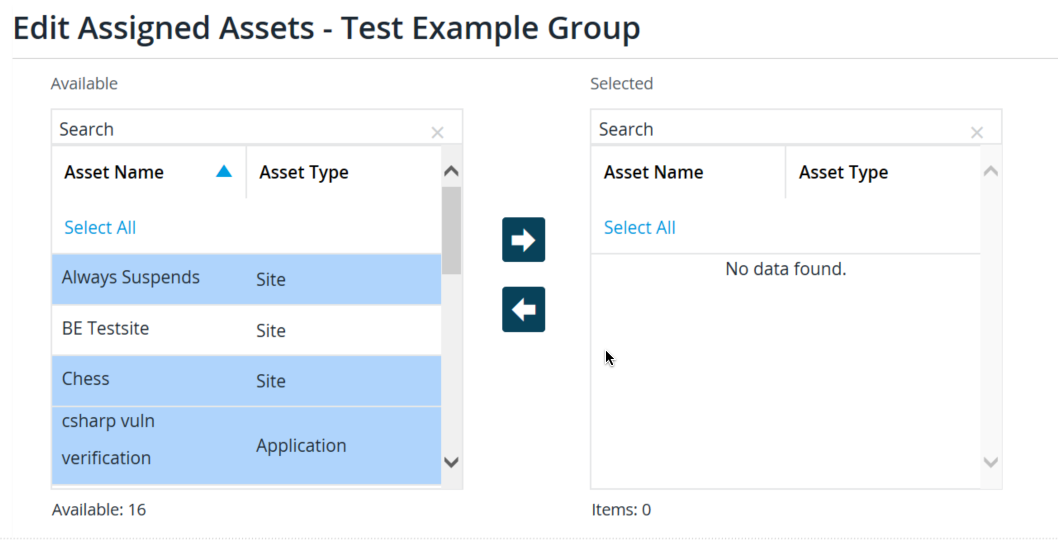
In the Assigned Assets screen, highlight the assets you want to include in this group in the "available" box and use the arrow keys to move them to the "selected" box. Note that you can also use the search function to narrow your field of choices:

When you have selected all the assets you want in the group, use the right-arrow button to assign them to the group; if you need to remove one or more assets, click on them in the "assigned" space and use the left-arrow key to move them out of the group assignment.
Click on "Save" to finalize the assignment of assets to this group.