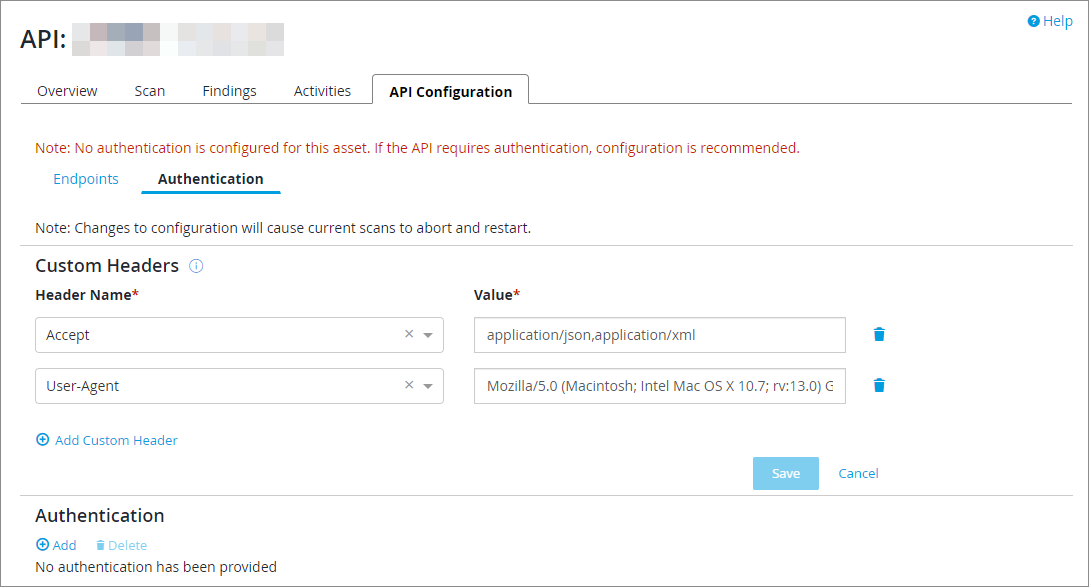
API Custom Headers
You can define custom headers for AutoAPI to use when calling the API. Any custom headers added here will be used on all requests to the API. By default there are five custom headers created when you add an API as an asset. These are:
-
Accept: This custom header is used to specify which media types are acceptable in the response.
-
Accept-Charset: This custom header is used to specify which character sets are acceptable in the response.
-
Accept-Encoding: This custom header is used to specify which content-coding formats are acceptable in the response.
-
Accept-Language: This custom header is used to restrict the set of natural languages that are preferred as a response to the request.
-
User-Agent: This custom header contains information about the user agent originating the request.
Adding Custom Headers
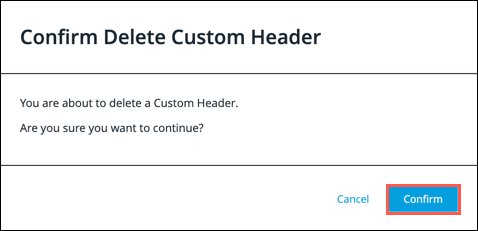
You can add additional custom headers that will be included with any requests to the API, but you cannot edit existing custom headers. If you need to change the field value for an existing custom header, you must delete the existing custom header and then add it as a new custom header with the required field value. To add a custom header:
-
From the API Configuration screen, click on the Authentication sub-tab.

-
Under Custom Headers, click Add or click Edit if custom headers already exist.
-
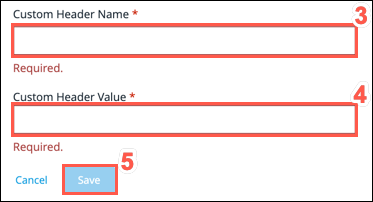
Provide a value for the Custom Header Name field.
-
Provide a value for the Custom Header Value field.
-
Click Save.